JupyterHub at NERSC 
NERSC's documentation 
Please see this section of NERSC's documentation, especially the video "How to log in to Perlmutter with Jupyter", to learn about the service.
Tips for using the QuickView family through JupyterHub 
Tip 1: Choosing a server for your analysis session.
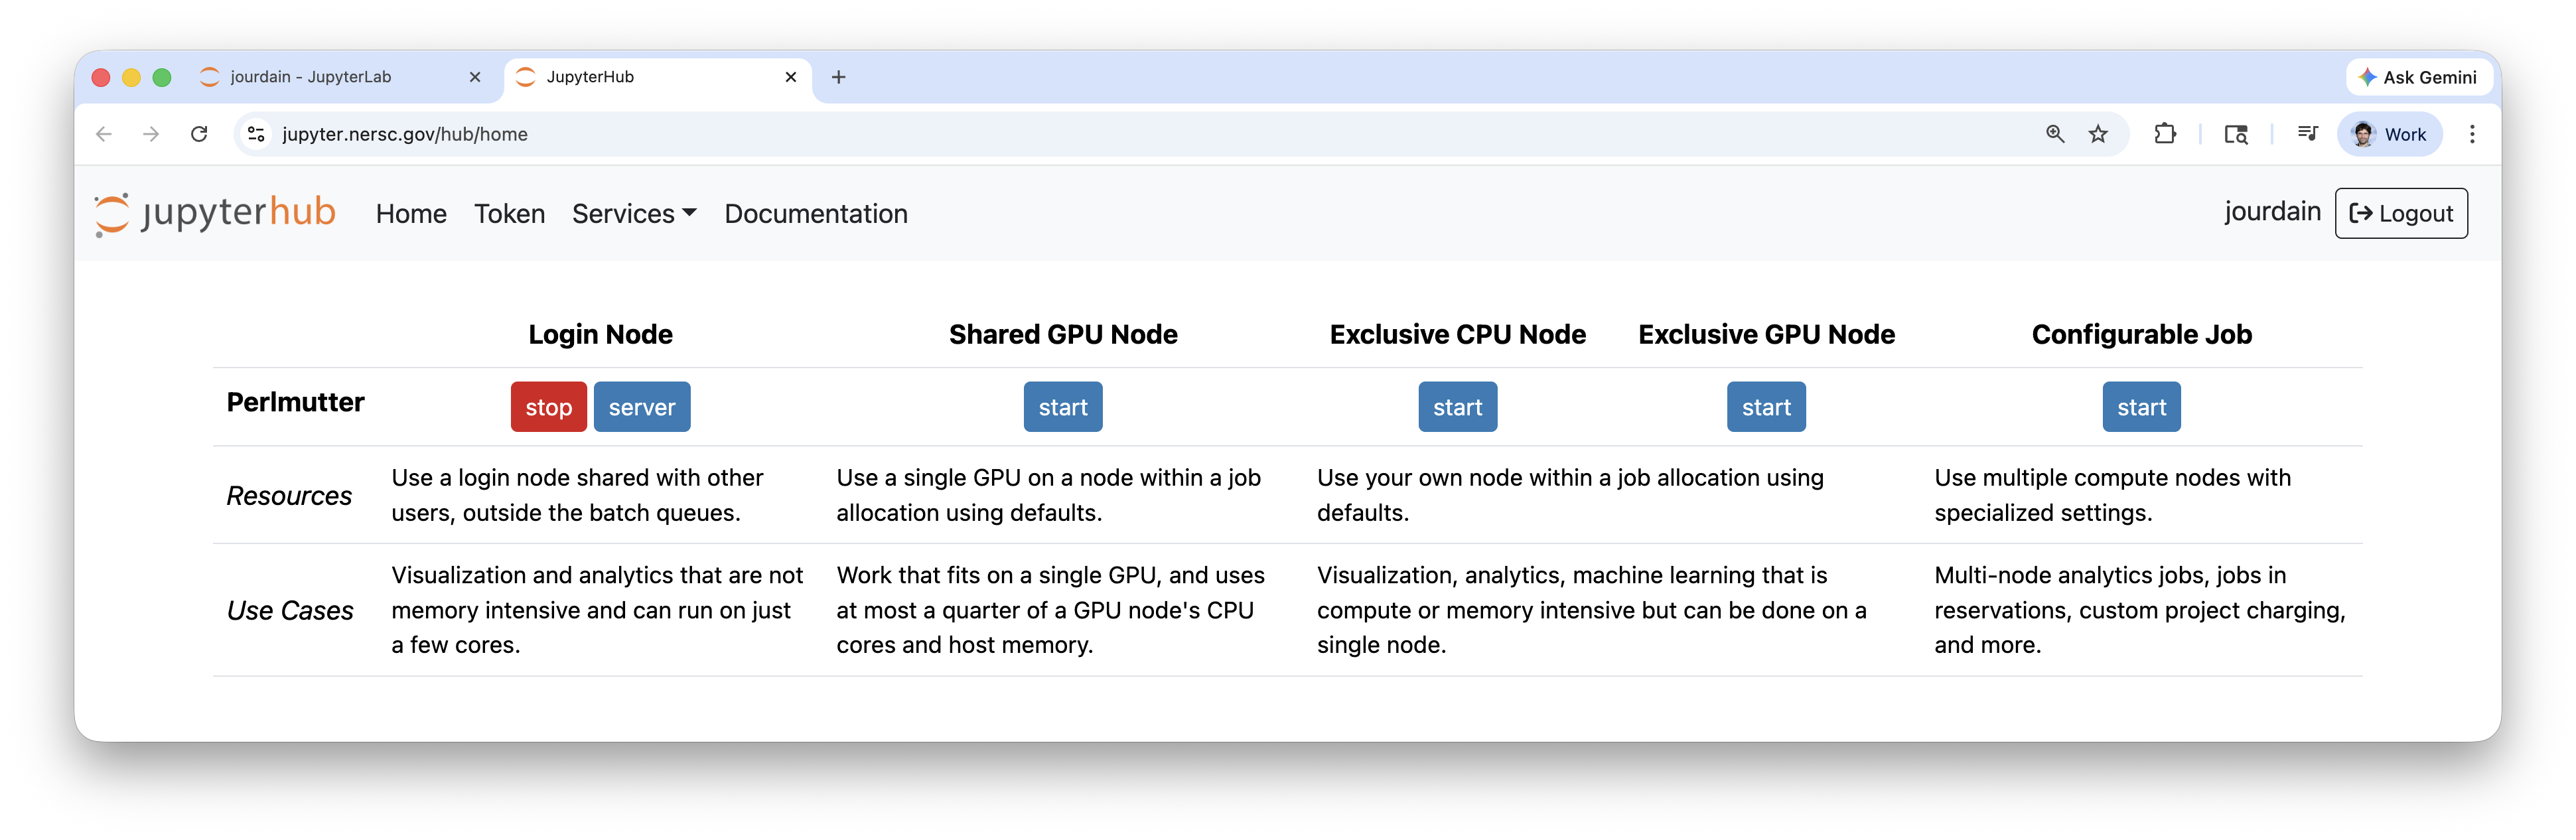
JupyterHub's control panel offers access to different types of resources, including, e.g., login nodes, shared GPU nodes, exclusive nodes, as explained in NERSC's documentation. Since login nodes may become crowded and hence hit memory constraints, for large datasets, we recommend using a shared or exclusive GPU node. Keep in mind, though, that time spent on shared GPU nodes or exclusive nodes will be charged to your project's allocation.
Tip 2: The same executables work for all types of nodes.
Regardless of which type of nodes a user choses in JupyterHub's control panel, the same commands (executables) are used to launch our tools in the QuickView family.
Tip 3: No need for manual module load conda.
When the commands provided above are used to launch tools in the QuickView family, there is no need to manually apply module load conda or activate the conda environment in which the tools are installed. This is because the commands mentioned earlier on this page are in fact scripts that have included those steps.
ATTENTION: Shut down the server when you are done!
After finishing your analysis, please remember to shut down the connection to your assigned node to avoid keeping the resource idle and unnecessarily charging to your project's allocation. This is explained at the end of this video. Also see below for a recap of the steps (clicks).
Connecting to NERSC via JupyterHub 
The URL https://jupyter.nersc.gov/hub/login brings you to a page like the screenshot below.
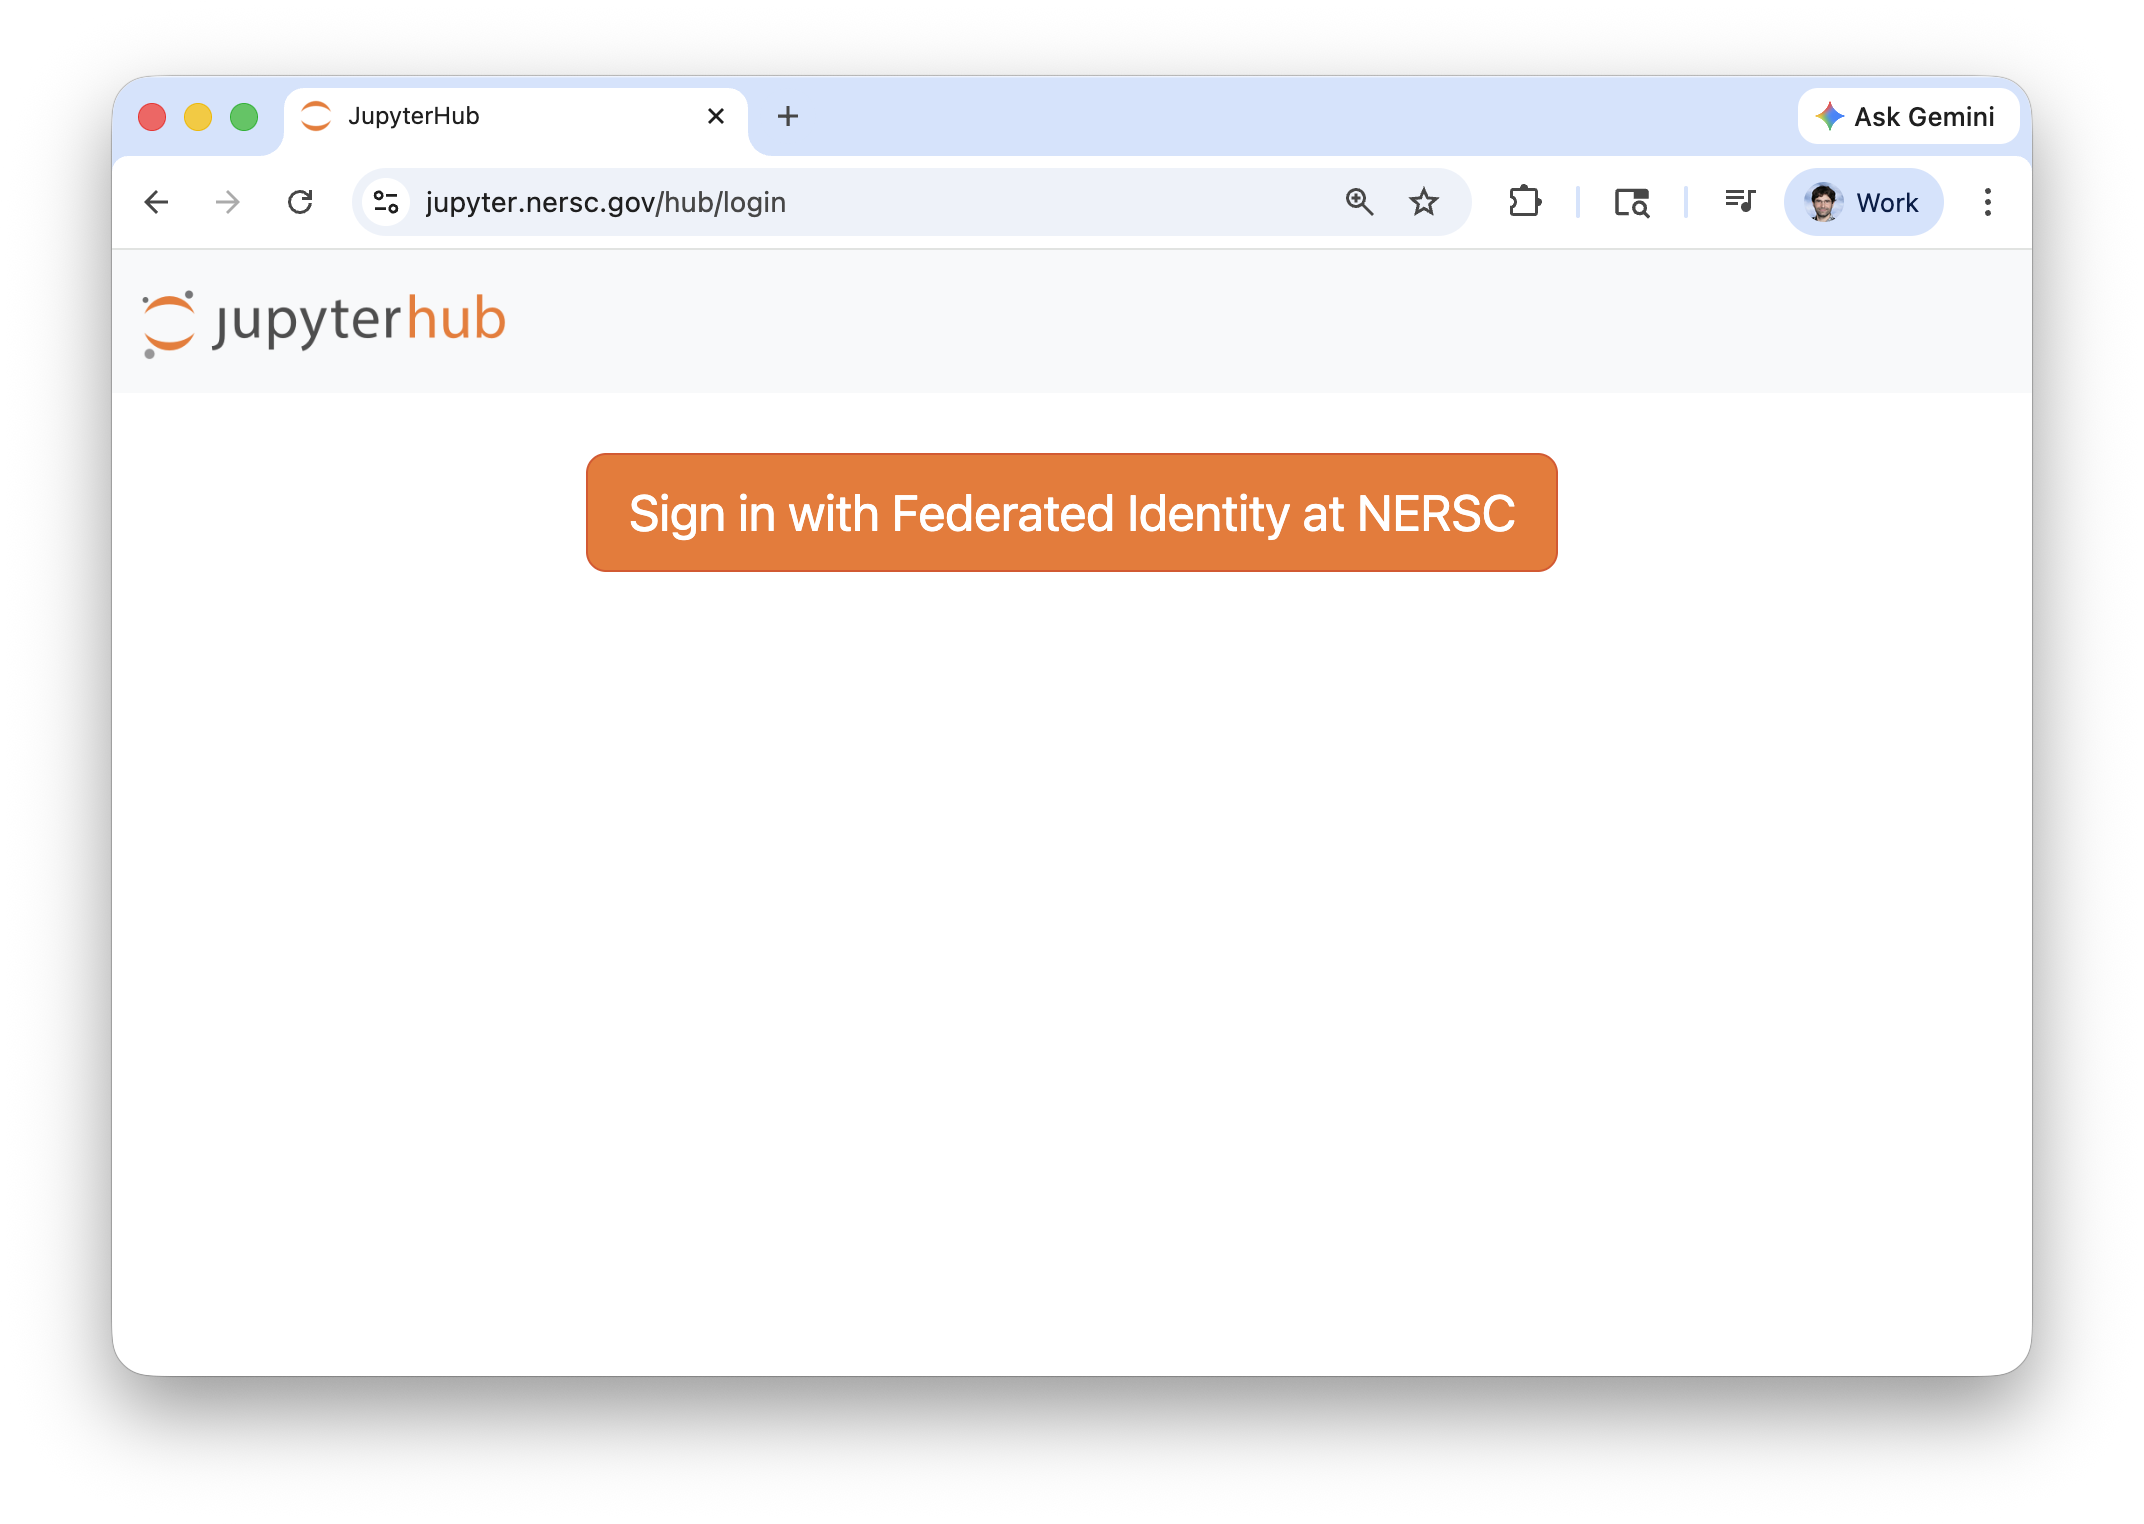
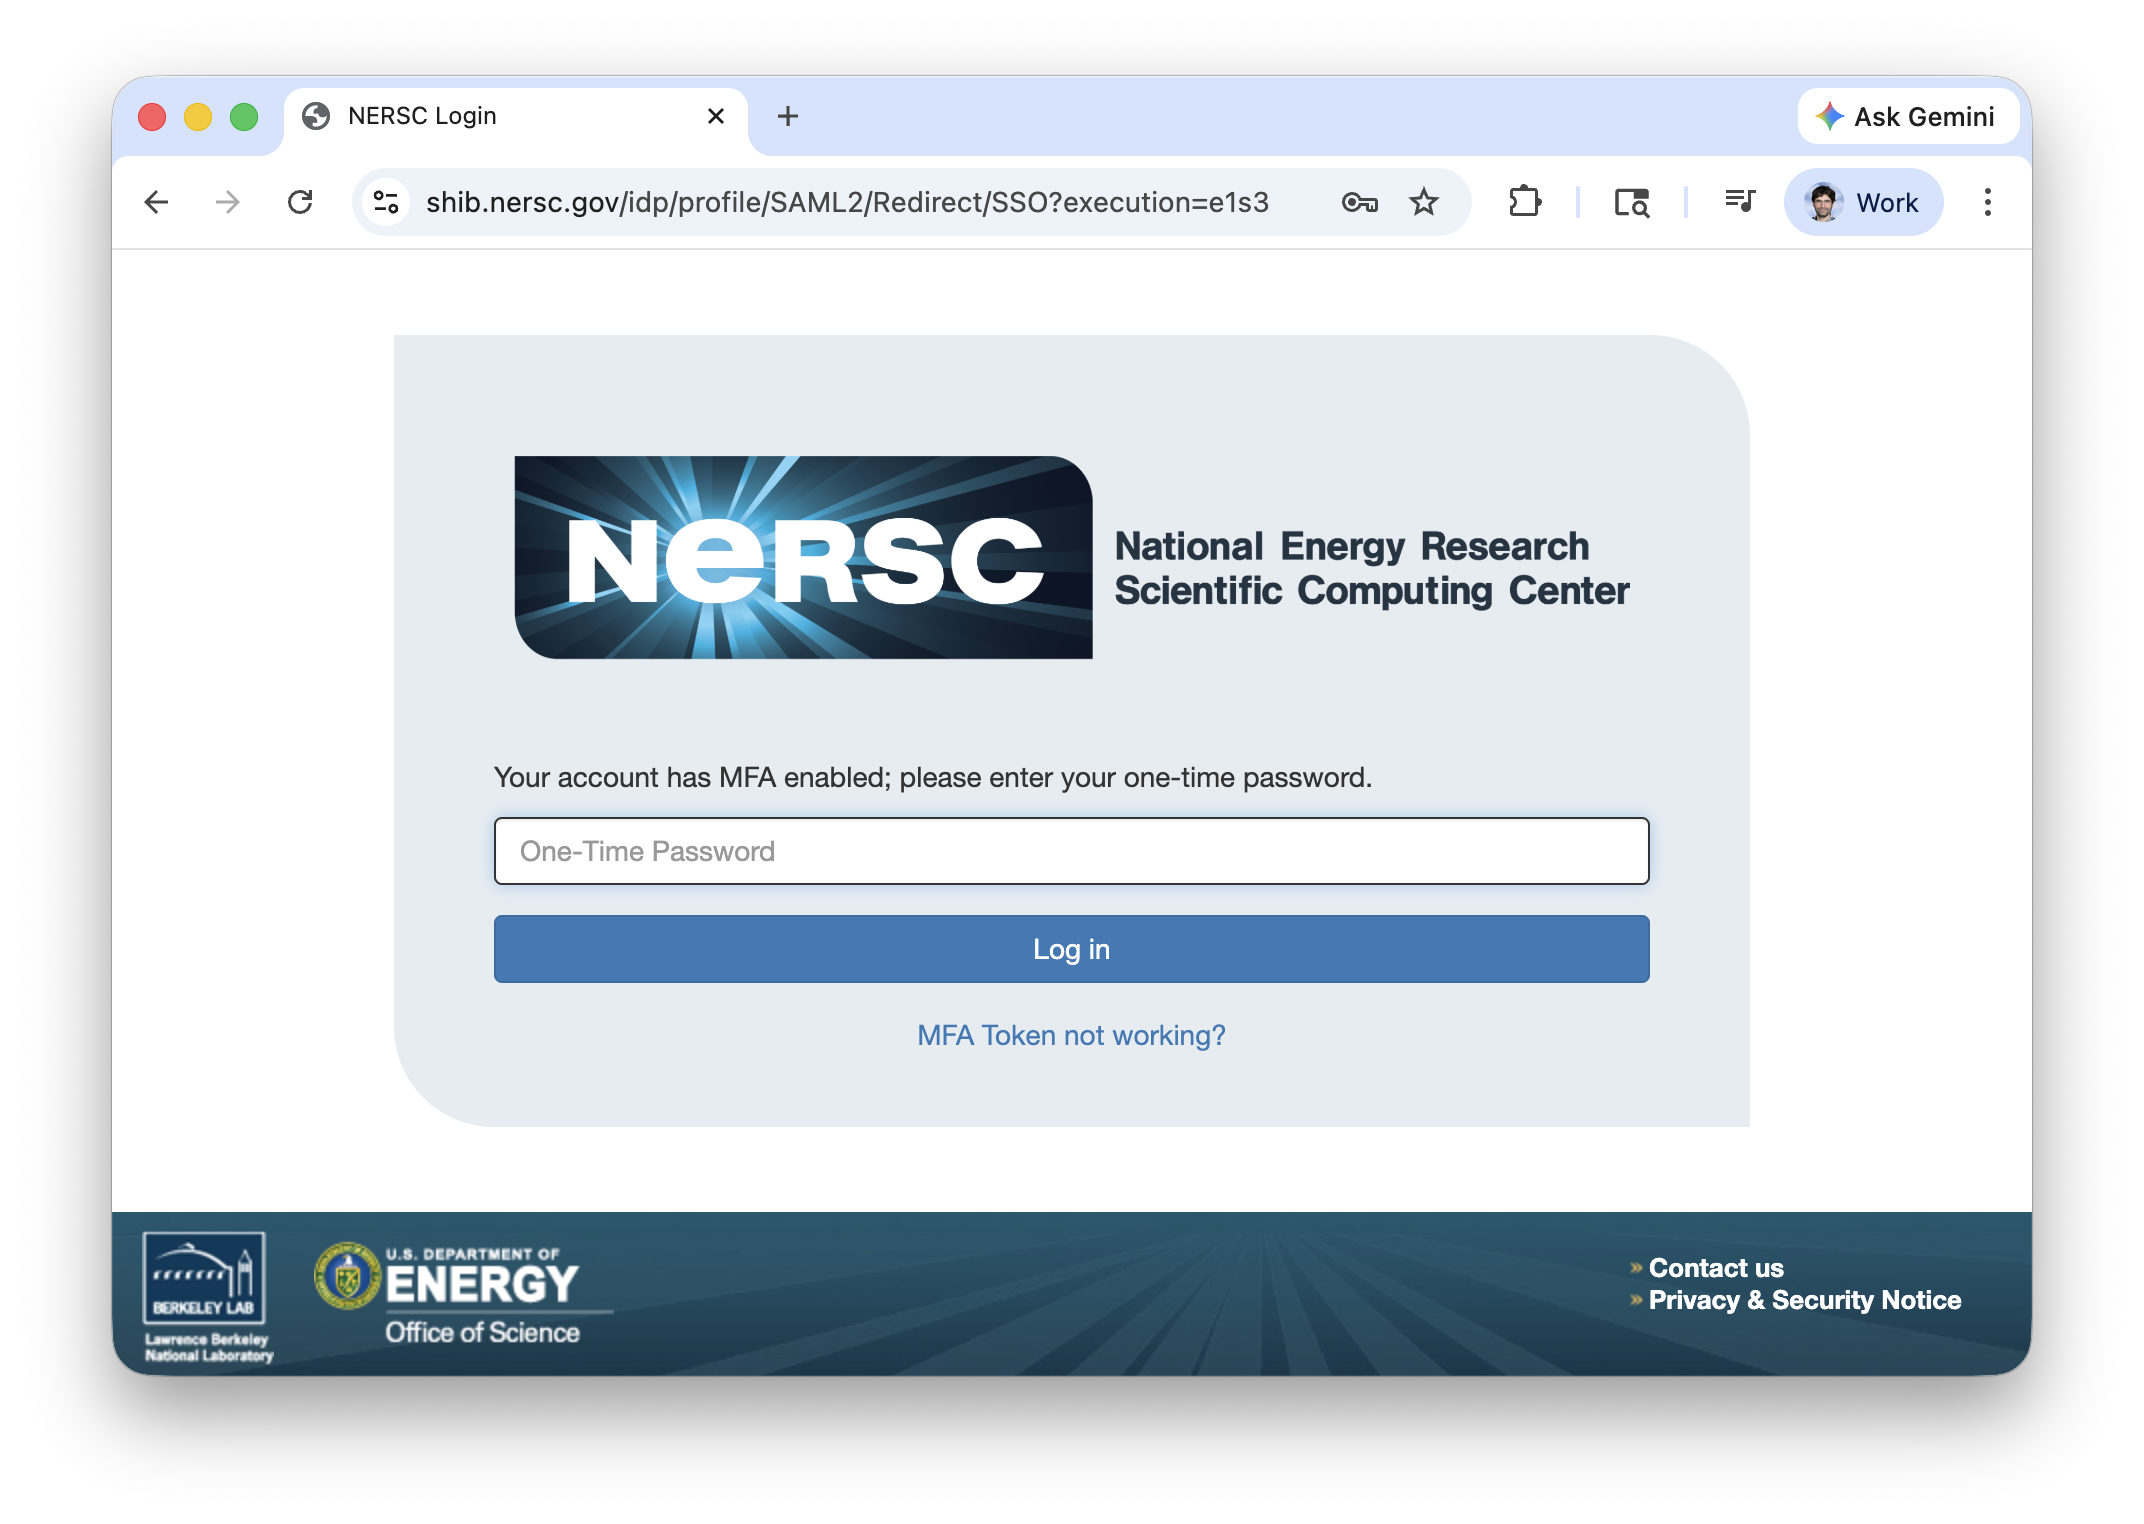
Clicking on the orange "Sign in with Federated Identity at NERSC" button will bring you to a new page to enter your username and password; after that, you will need to fill an OTP (One Time Password):
After a successful login, you will be presented with a list of options for where you would like to run your application. For the QuickView family, it is better to have hardware with a GPU to allow interactive rendering. Keep in mind, though, that time spent on anywhere else than a login node will be charged to your project's allocation. Hence, after you are done with the analysis, remember to shut down the service to avoid wasteful use of the resources.
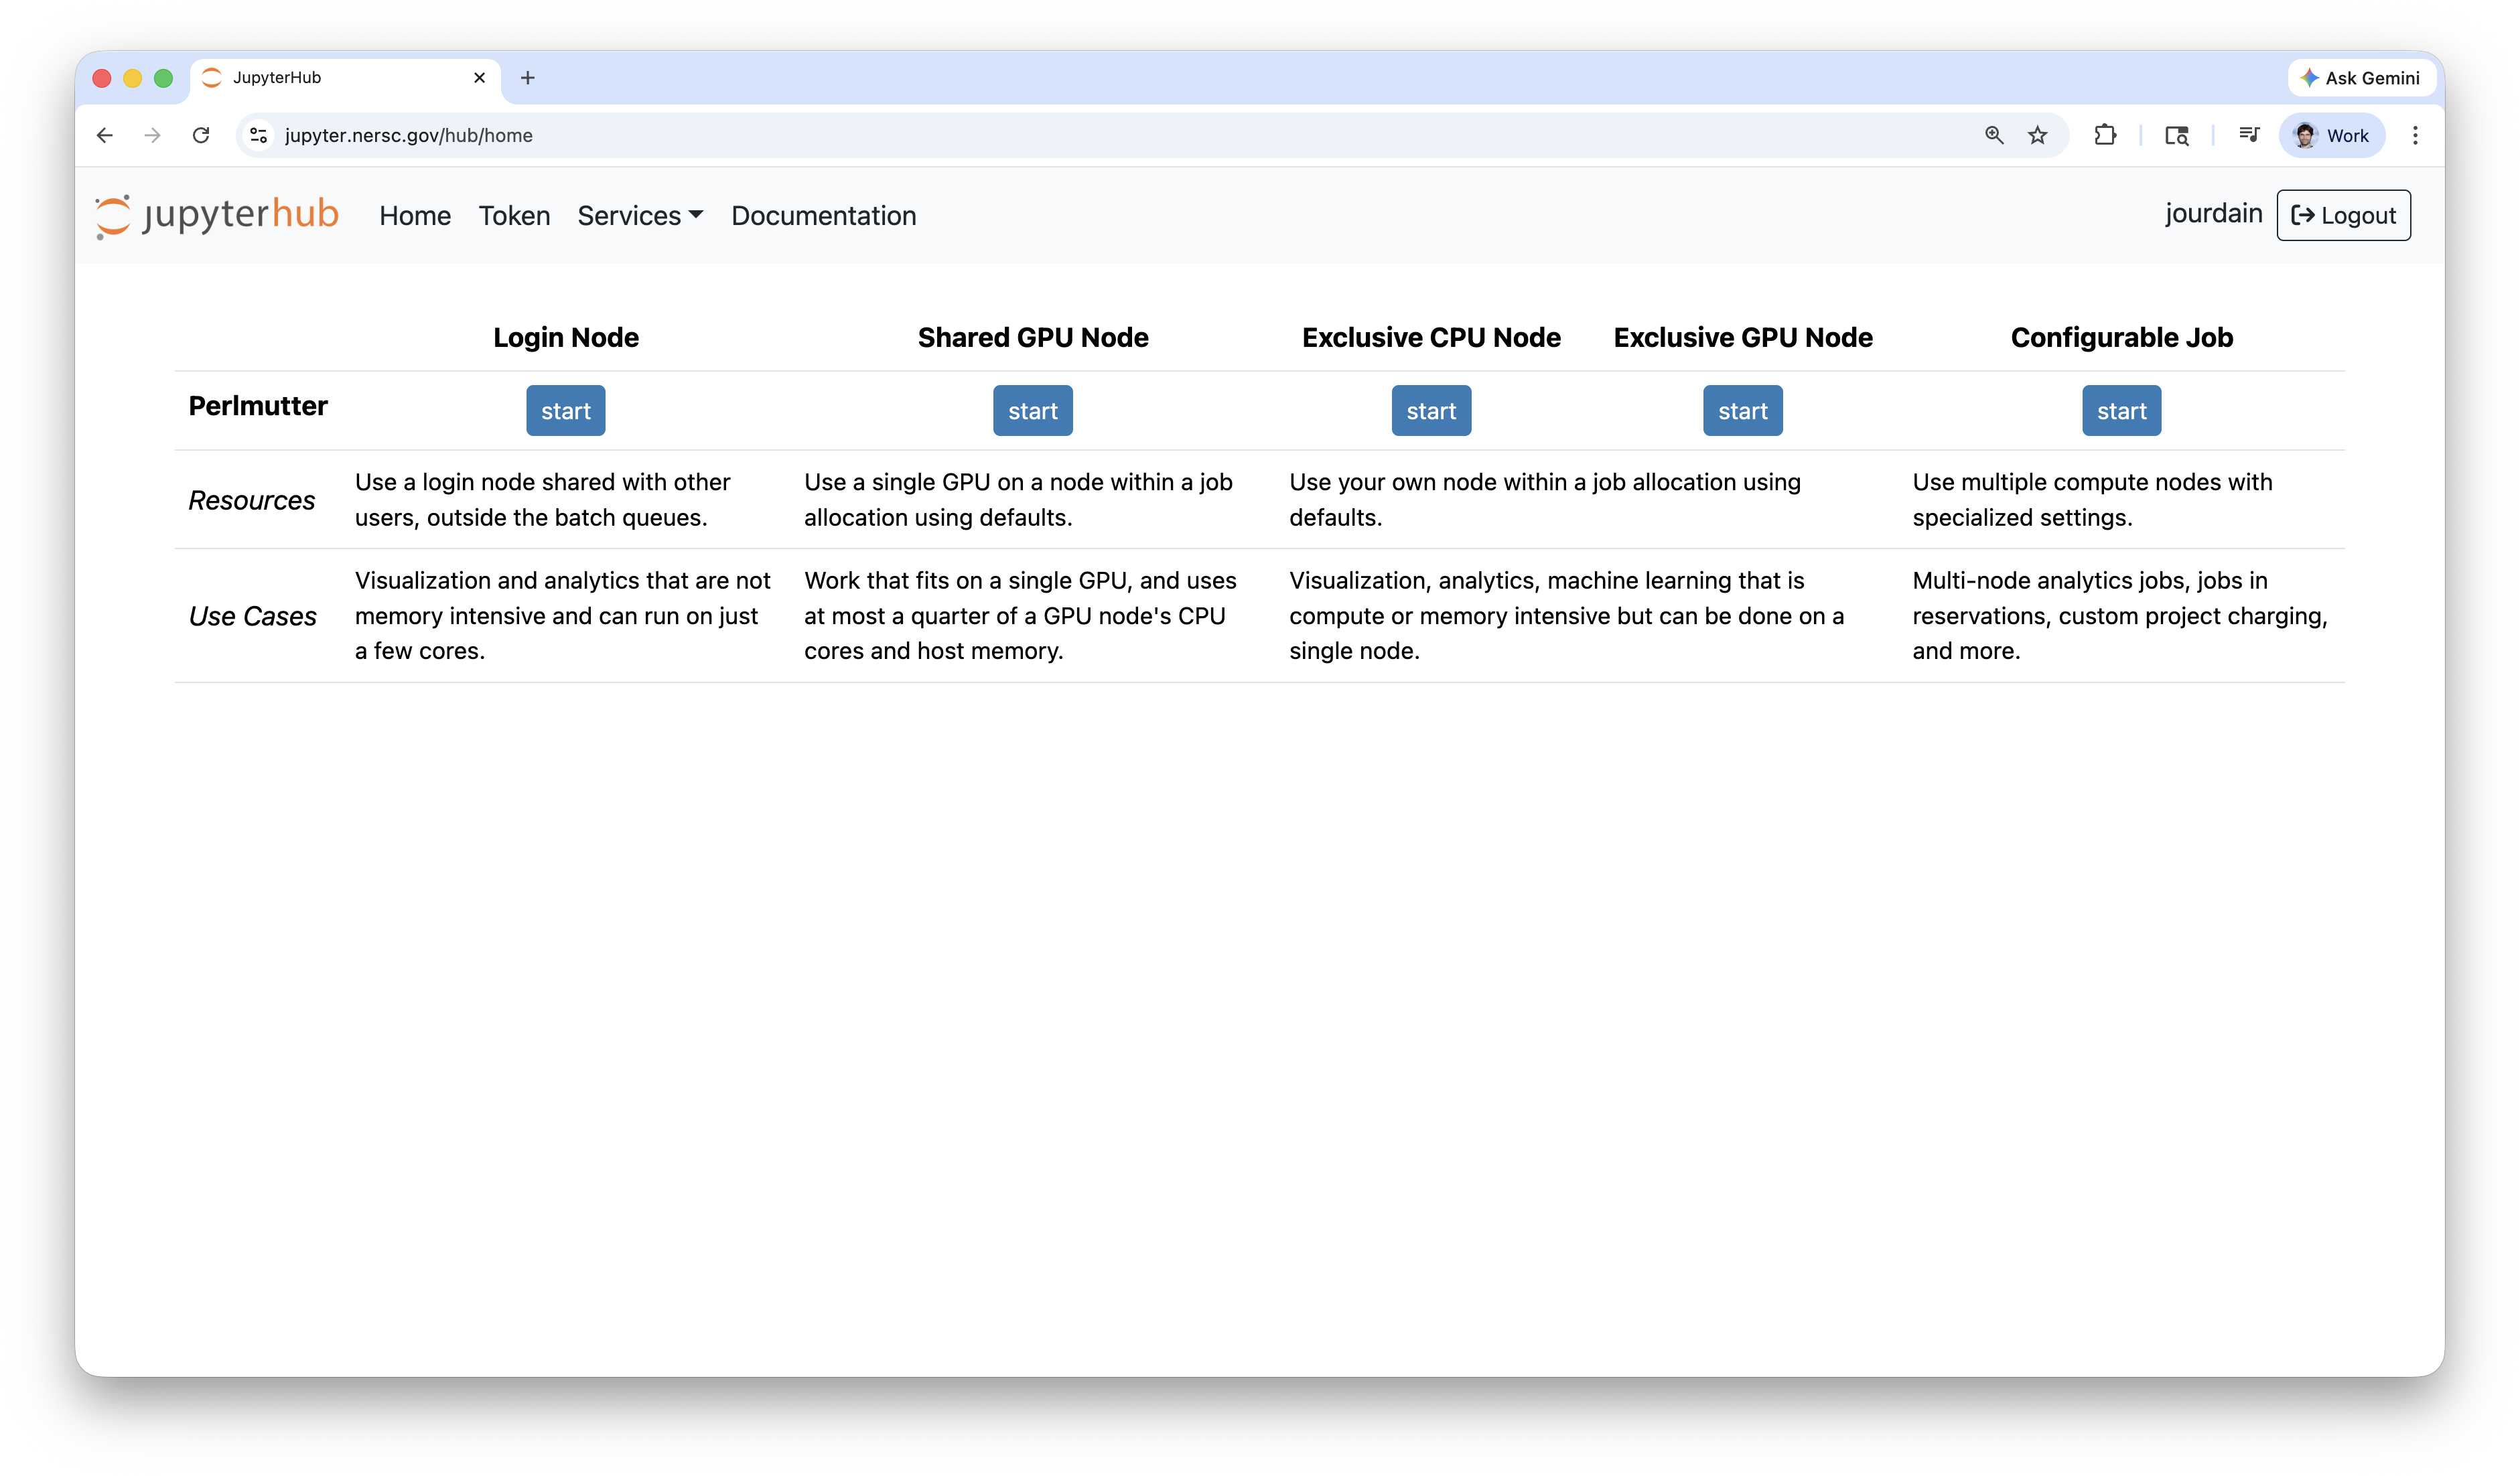
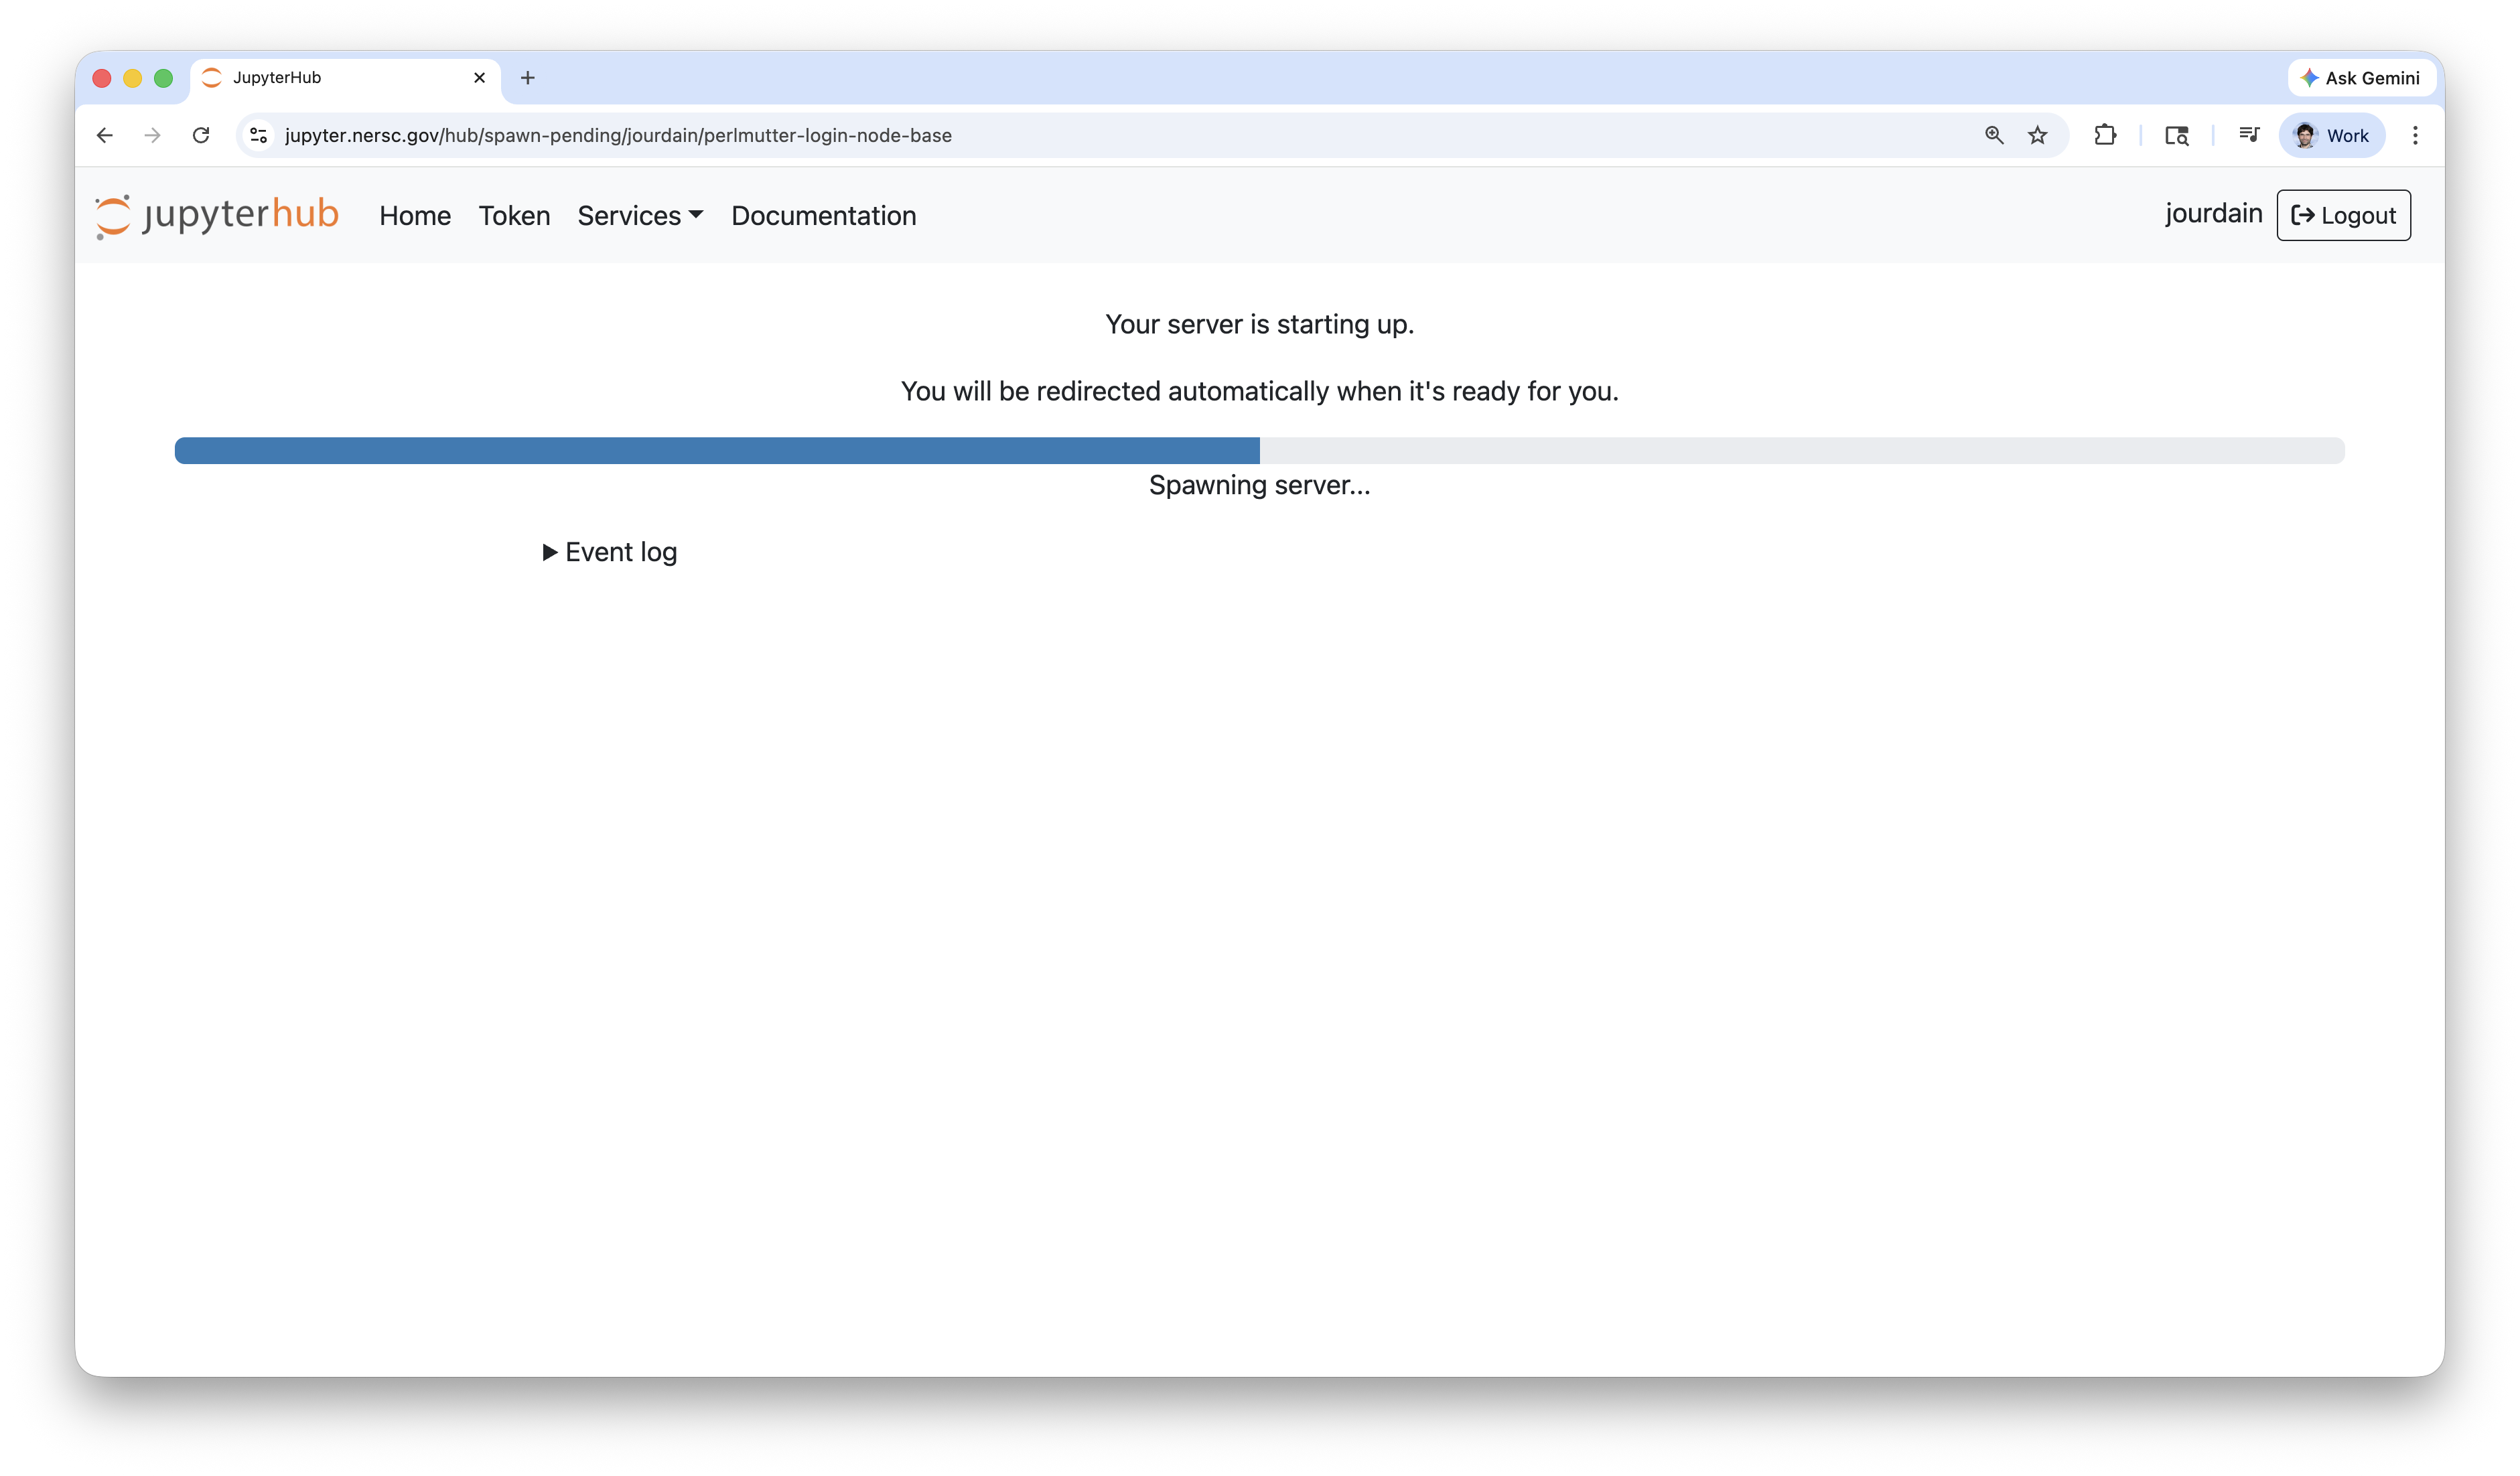
After clicking on one of the "start" buttons, you will see something like the screenshot below and will likely have to wait for some seconds for the service to be ready.
Shutting down the server 
IMPORTANT: Shut down the server when you are done!
After finishing your analysis, please remember to shut down the connection to your selected server (node) to stop the charging of hours to your project's allocation. This is explained at the end of this video, and below is a recap of the steps (clicks):
- go to the JupytherHub window/tab in your browser,
- click
Filein the top-left corner, - scroll down and choose
Hub Control Panel, - in the Control Panel brought up in a new browser tab/window, click on the red "stop" button for the server to be shut down. An example is shown in the screenshot below.