Selecting Files for Analysis 
QuickView can be used in two modes:
- a new-vis mode for starting a new visualization or
- a resume mode for continuing an earlier analysis saved in a state file. Both are explained below.
New-vis mode: starting a new analysis 
When QuickView is launched using a shell command or the desktop bundle, or when the user clicks the "File Loading" icon on the toolbar, a dialogue window like the screenshot below is brought up. The user is expected to select a connectivity file and a simulation data file from the file browser in this window.
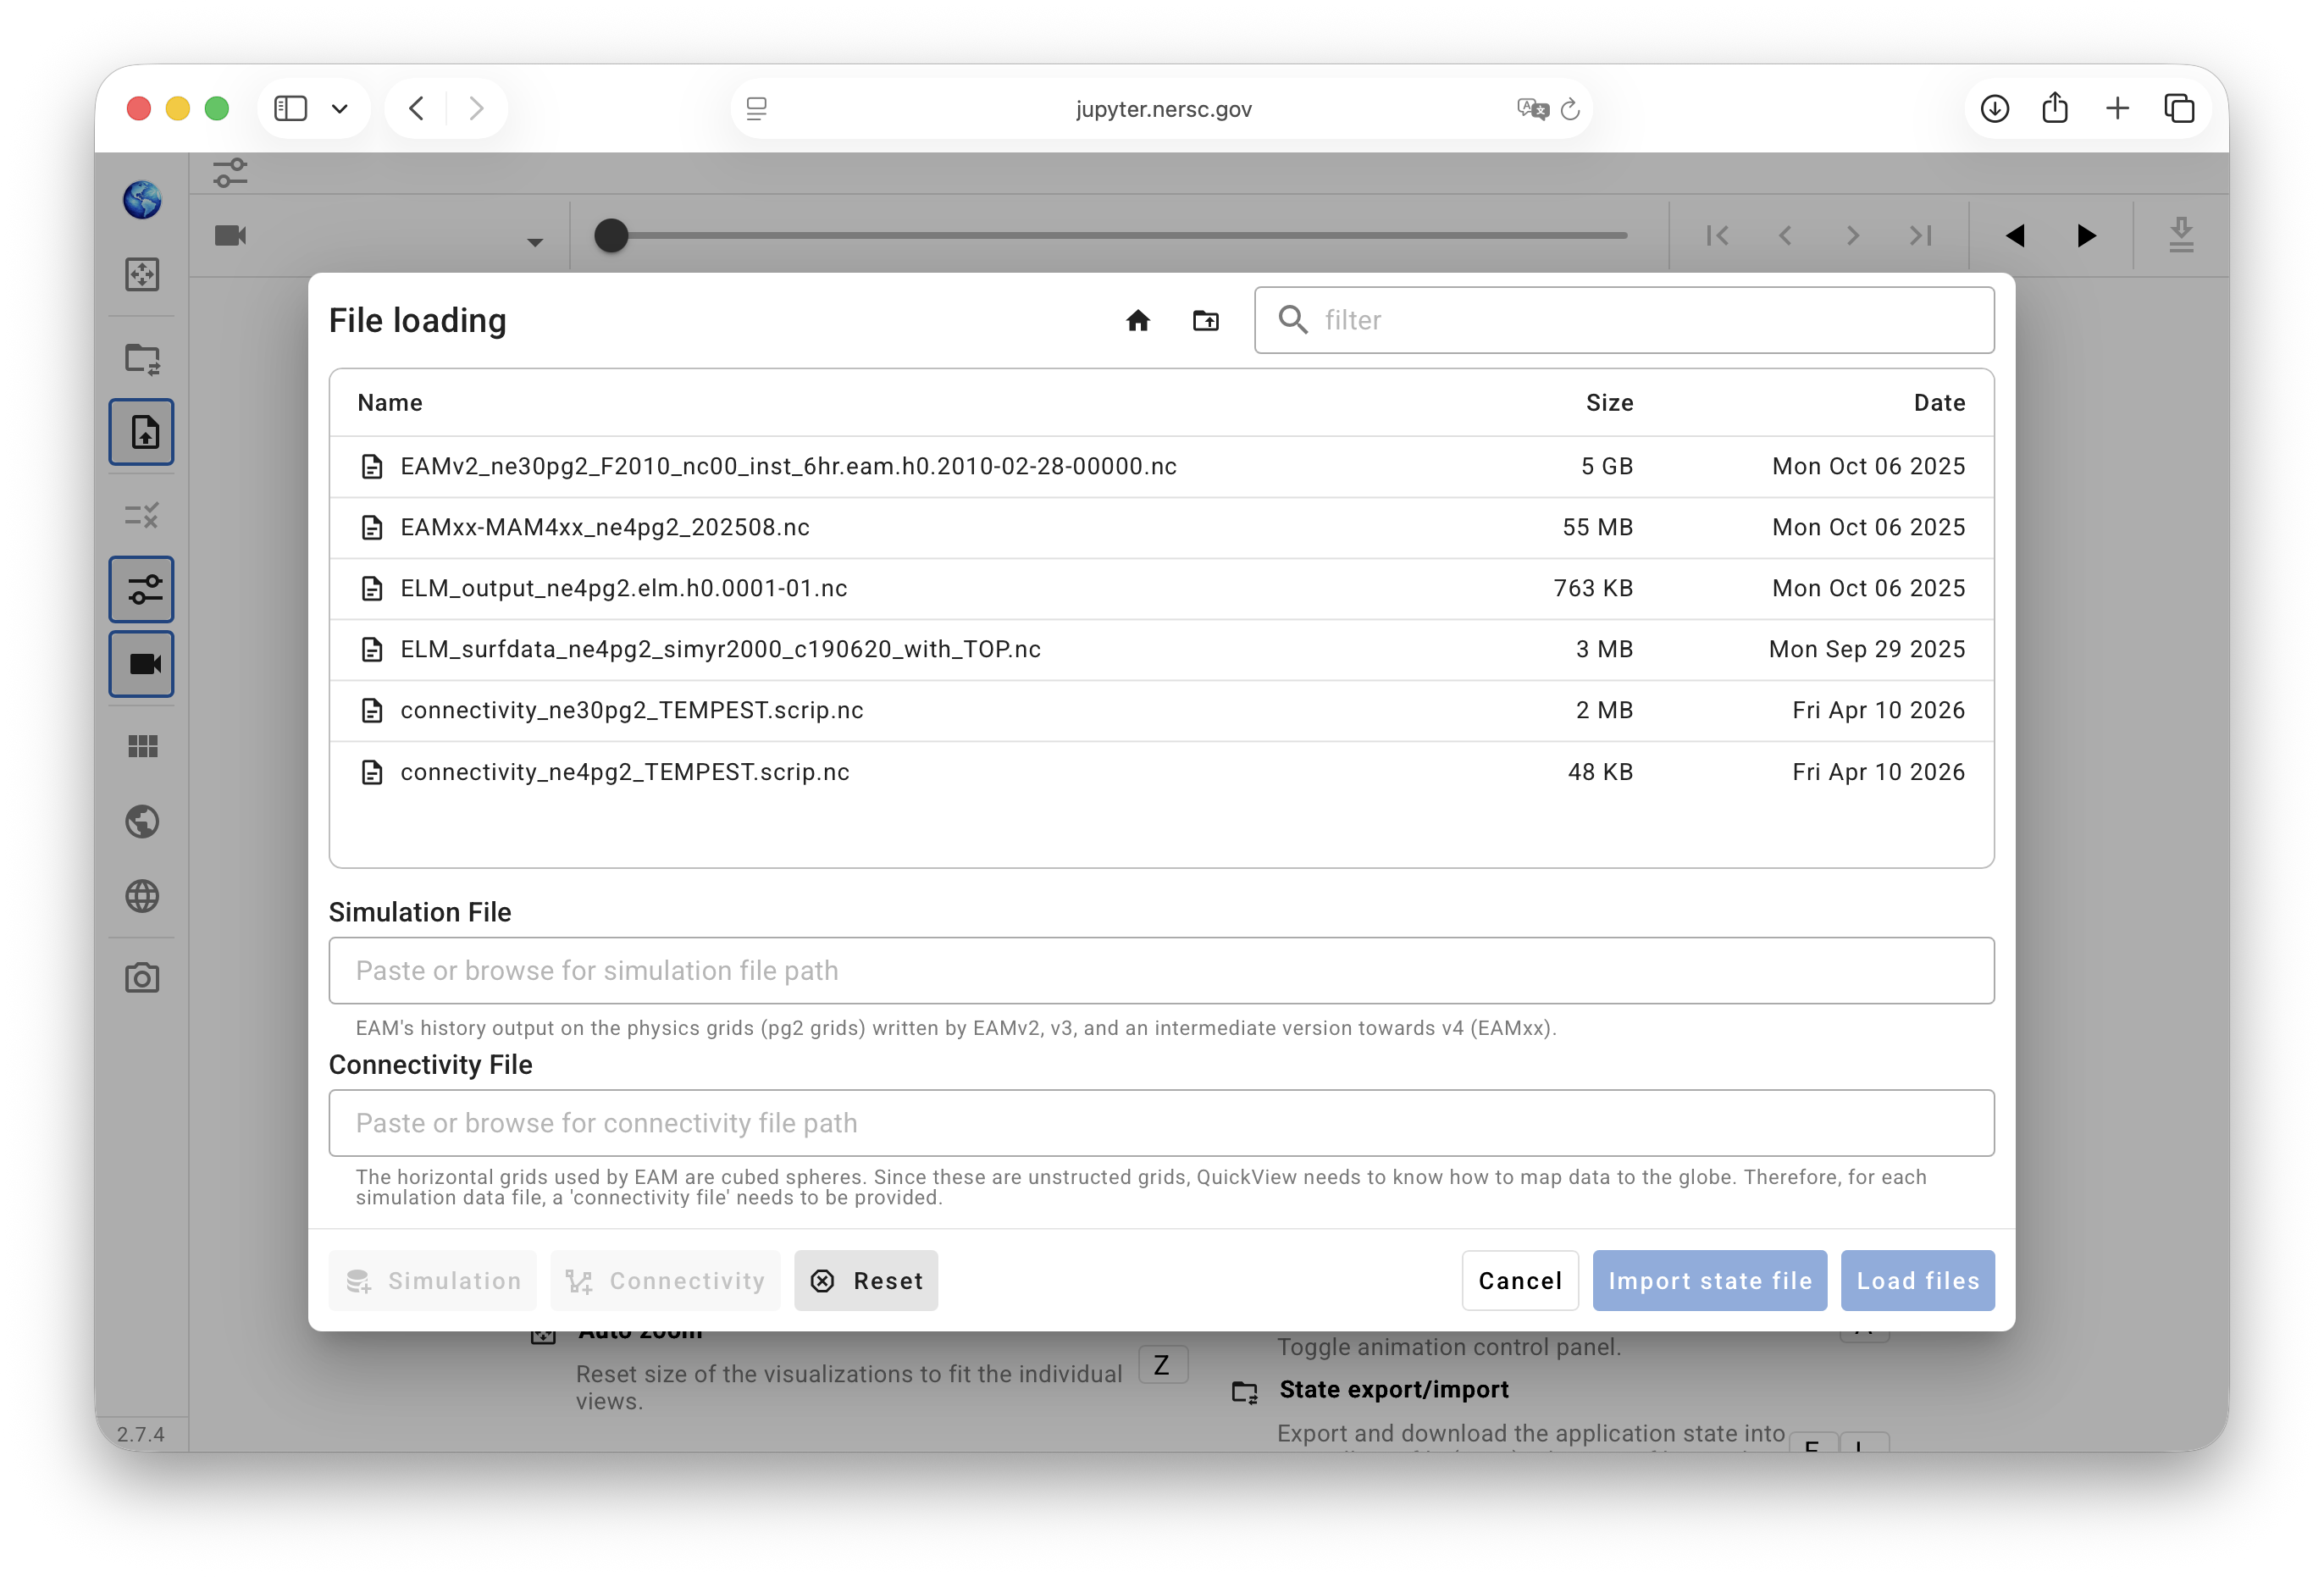
The user can single-click a file name and then click the "simulation" or "connectivity" button in the bottom-left corner to clarify file type.
Alternatively, if a filename starts with "connectivity", then the user can double-click the file to have it automatically recognized as a connectivity file. Double-clicking a filename not starting with "connectivity" makes it recognized as a simulation file.
After both connectivity and simulation files are selected, the originally pale-blue Load Files button in the bottom-right corner changes to bright blue. A single click starts file loading.
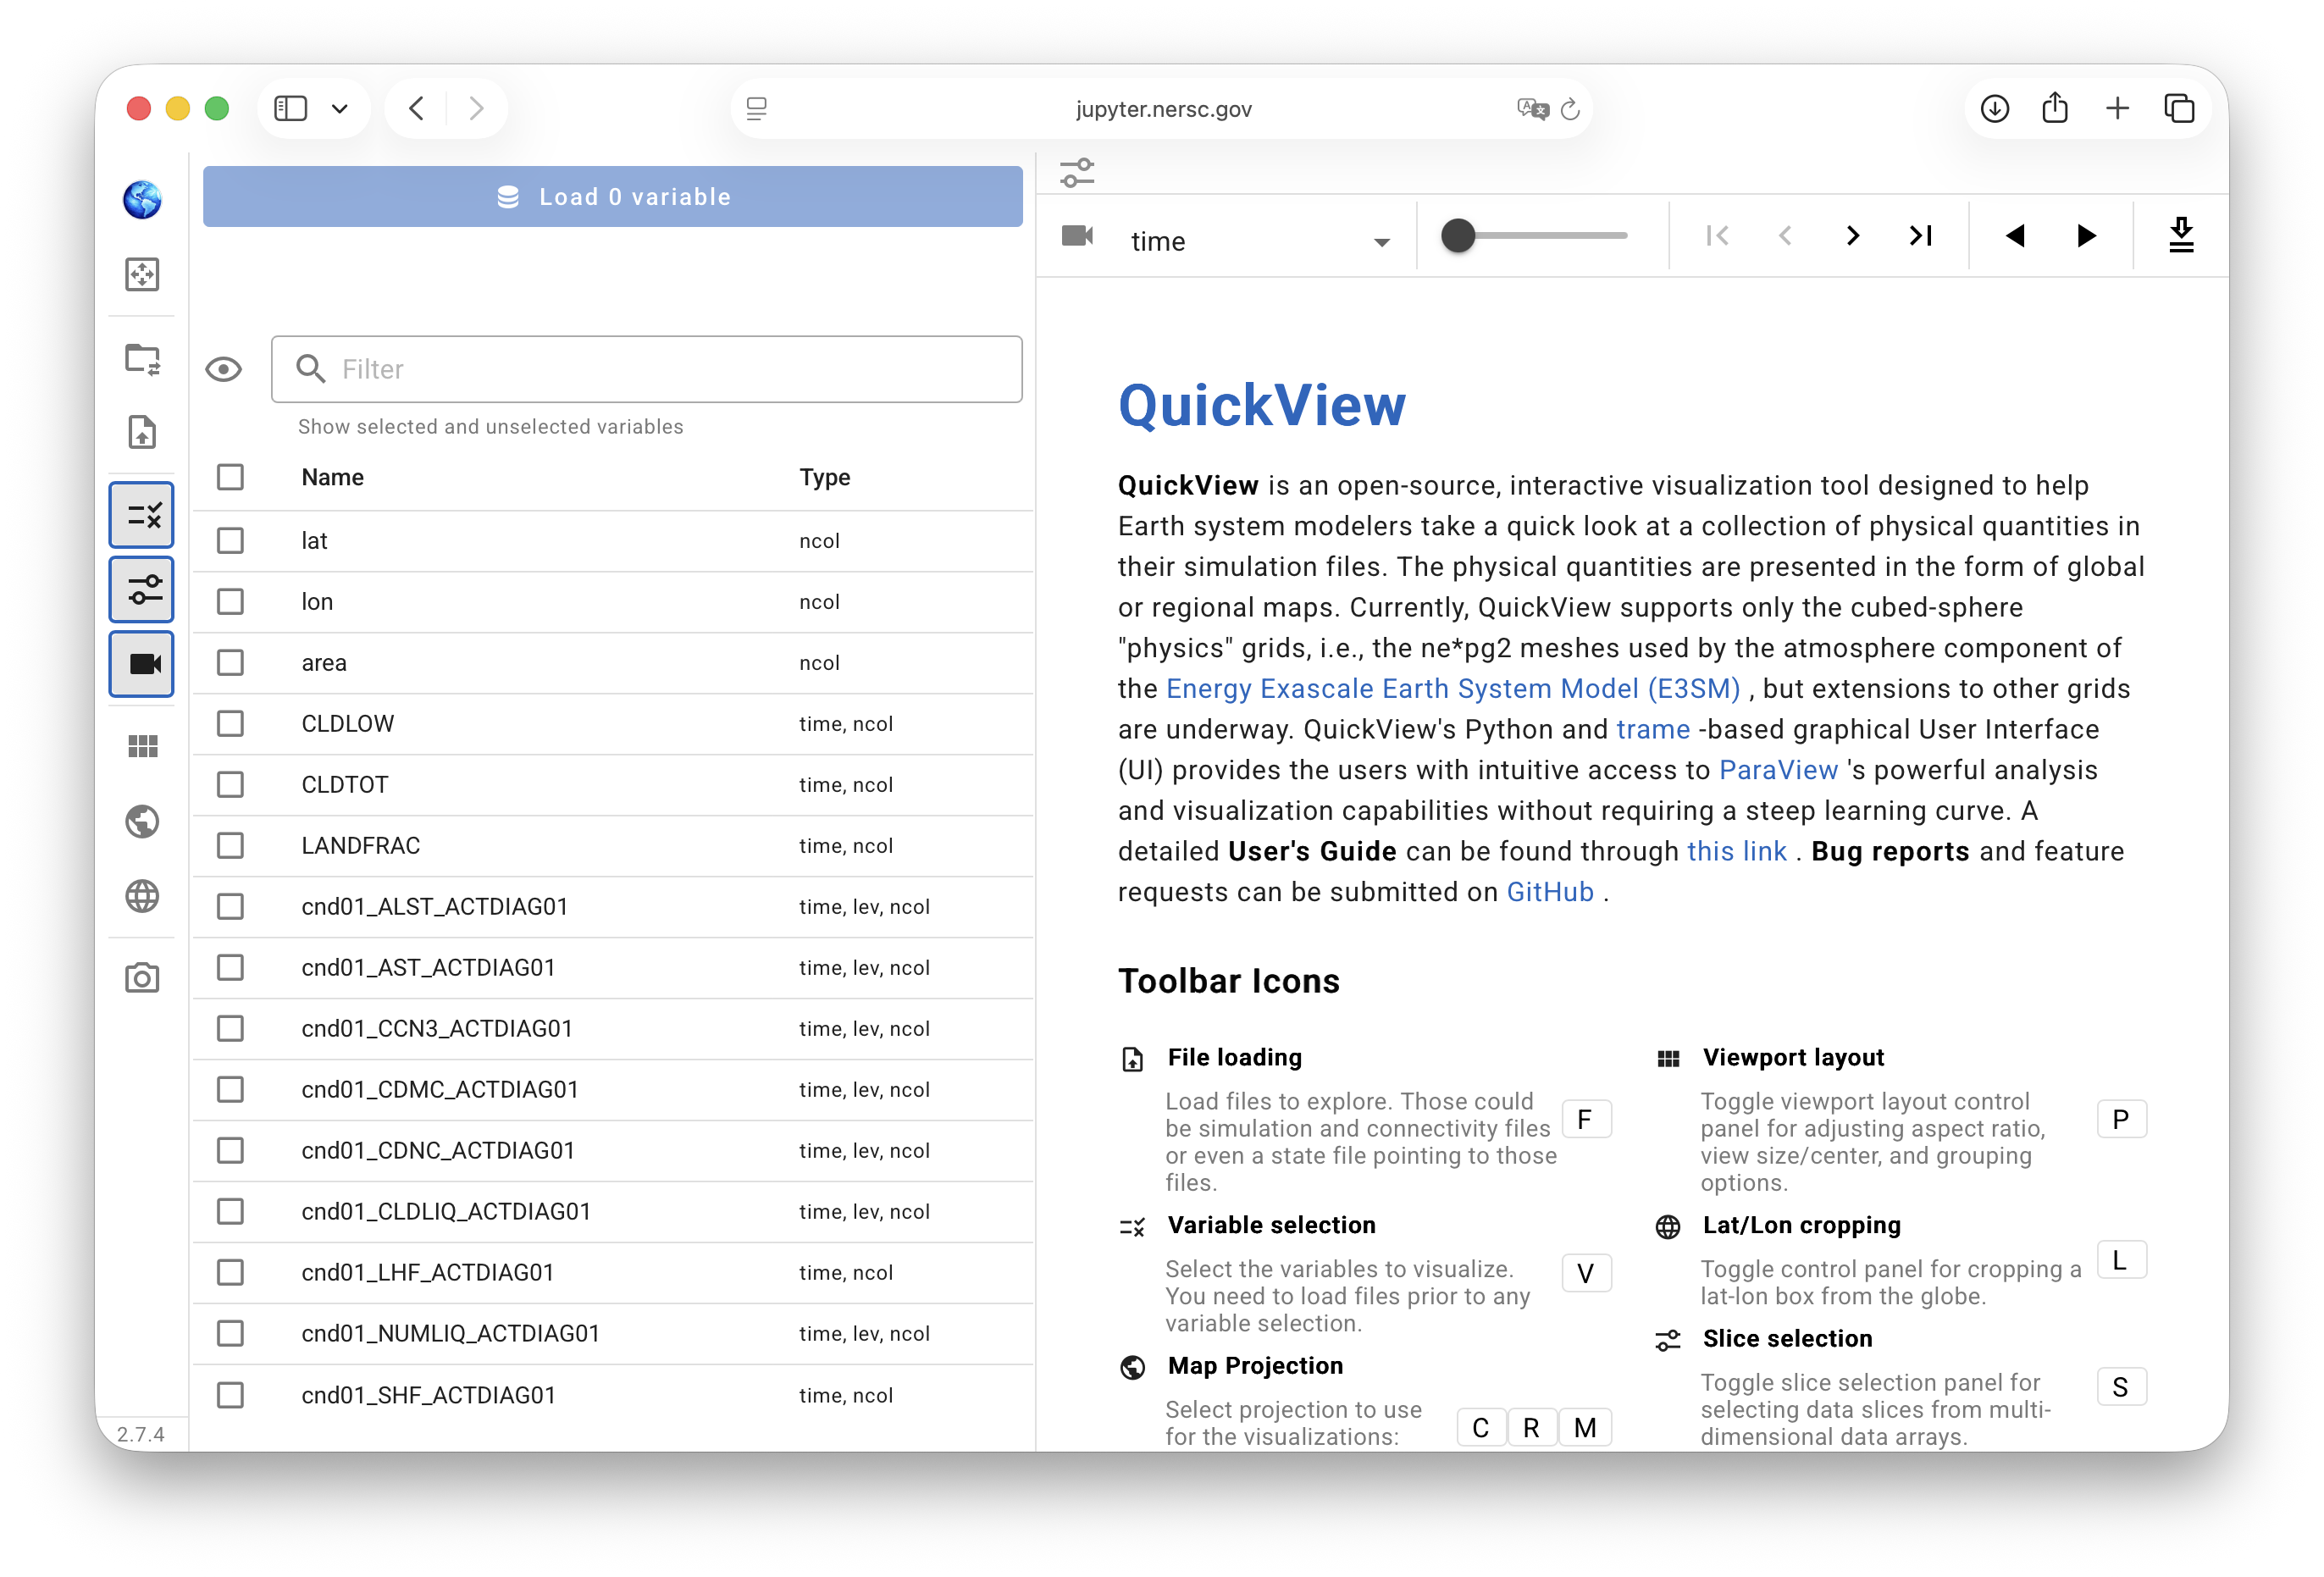
If the files are loaded correctly, the UI changes into a layout like the example below, with the Variable Selection control panel on the left showing a list of parsed variables and the viewport on the right showing a brief introduction to QuickView. The user can now start to search for and load variables to inspect.
Tip: File system navigation
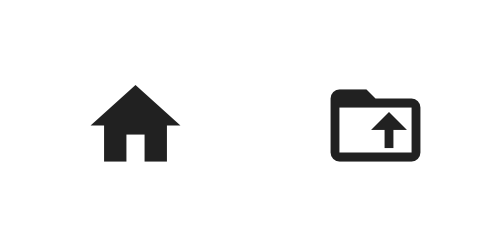 For QuickView installed through conda, the start directory is the directory in which the app is launched via a shell command or script. After launch, the File Loading dialogue window shows the contents in that directory, and the user can double click the listed subdirectories to go in–or use the folder icon with an upward arrow to go to the parent directory. A click on the house icon brings the file browser back to the start directory. Because of this concept of the start directory, we recommend that users launch QuickView in a directory close to their data so that fewer clicks are needed in the file search.
Resume mode: picking up where you left off 
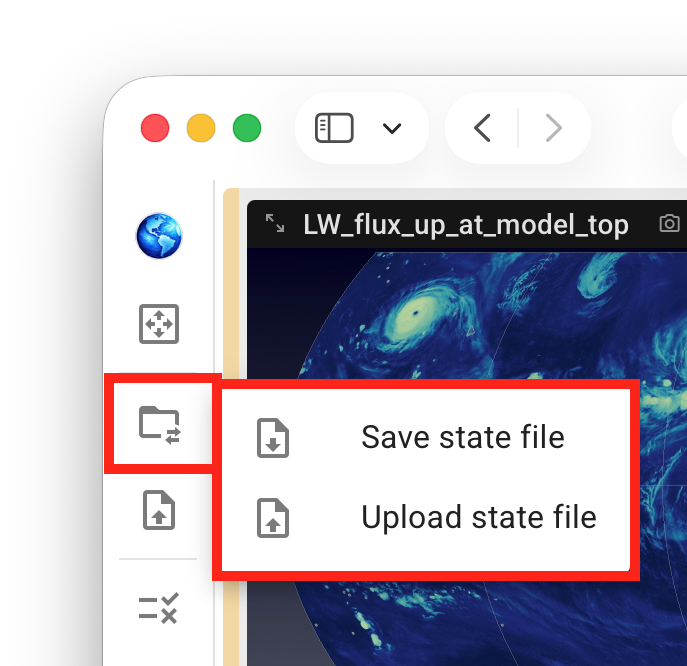
The current state of the analysis session can be saved—and reloaded later to resume the analysis—using the State Import/Export button in the vertical toolbar or using the shortcut I for import and E for export.
Note that regardless of whether QuickView is executed on a local computer or on a remote system (e.g., at NERSC), the state files are saved to and uploaded from the local computer.
Info: What's in a State File?
A state file is a JSON file that contains the paths and names of the connectivity and data files being used as well as the settings the user has chosen for the visualization; the contents of the connectivity and simulation files are not included.
If a state file is shared among multiple users or used across different file systems, or if a user wants to apply the same visualization settings to a different simulation data file, then the file names and paths at the beginning of the state file need to be edited before the state file is loaded in the app.