

HTML
trame leverages Vuetify as its primary UI Component Library for defining HTML graphics user interfaces (GUI). Vuetify is a mature, efficient, and expansive framework which produces good-looking web applications using the same simple state management system as trame. trame makes Vuetify available in the Python environment with minimal overhead.
Using Vuetify
We expose all Vuetify components in trame. As an example, let's look at how we would make a simple text box. This is taken from Vuetify's excellent examples and documentation, which we recommend you consult while writing frontends with trame.
// Somewhere in javascript
const currentSuffix = "lbs";
const myWeight = 28.0;<!-- Somewhere in html -->
<v-text-field label="Weight" v-model="myWeight" :suffix="currentSuffix"></v-text-field>
Here we have a vuetify3 text field (v-text-field). In Vue, the v-model is a directive that provides two-way data binding between an input and form data or between two components. The variable myWeight is bound by the v-model attribute, so the shared state can read from it (shown in the GUI form) and write to it (input to the form stored as the variable contents).
We've included, optionally, a label and a suffix for the text box. The label is a static string or title, and the suffix could be a static string, but the ":" in :suffix means we will look up and use the contents of a variable currentSuffix. This variable could change to 'kg' if our user prefers the metric system.
Looking through the Vuetify documentation, we see a large number of wonderful user interface (UI) components. trame exposes Vuetify from within Python. Access to Vuetify is provided through trame using the following import.
from trame.widgets import vuetify3 as v3Python Vuetify Rules
Exposing Vuetify in Python was accomplished by making a few syntax changes.
We use CamelCase in our Python component's name, while attribute hyphens become underscores. For example, the
v-text-fieldcomponent becomes VTextField, and thev-modelattribute becomesv_model.Strings, ints, floats, and booleans used to set attributes are assigned as normal like
v3.VTextField(label="myLabel")for the"myLabel"String.Expressions or state variables used to set attributes are assigned as a String in a tuple (i.e. surrounded by parenthesis) like
v3.VTextField(label=("myLabel",)). The comma enforces the usage of a tuple. An optional second parameter is used to provide an initial value likev3.VTextField(label=("myLabel", "Initial Label")).Vuetify implicitly sets boolean properties. For example, if something is to be
disabled, then one simply writes disabled. In our Python implementation, this is done explicitly likev3.VTextField(disabled=True).For events, HTML uses the
@like@click="runMethod"to set the function to call upon a click event and double quotes on the String name of the function to run. In our Python version of Vuetify, we ignore the@and use the reference to the function instead of a the String name of the function call likev3.VBtn(click=runMethod).
Given these rules, we can recreate the JavaScript/HTML text field example in trame as follows.
field = VTextField(
    label="Weight",
    v_model=("myWeight", 28),
    suffix=("currentSuffix", "lbs"),
)
State
In both the previous statements v_model and suffix, we defined and initialized state variables. These variables are available from both the client and server side.
from trame.app import TrameApp

class App(TrameApp):
    # We can now use self.state in the whole class
From here, we have a couple options to read and update the state (self.state)
self.state.field- returns the value of a given state variable (field).self.state.field = 5- update or set the field variable to the value5.self.state.update({ "field": 5, ... })- update several variables at once
Let's look at an example leveraging the previously defined text field.
class App(TrameApp):
    # [...]
    def increment_weight(self):
        self.state.myWeight += 1

    def set_metric(self):
        self.state.myWeight = 0.453592 * state.myWeight
        self.state.currentSuffix = "kg"

    def set_imperial(self):
        self.state["myWeight"] *= 2.20462
        self.state["currentSuffix"] = "lb"
In the increment_weight function, we use addition assignment for self.state.myWeight to read and update the value of myWeight in a single statement. The remaining functions illustrate similar actions but using different syntax for reading and updating a given variable.
GUI
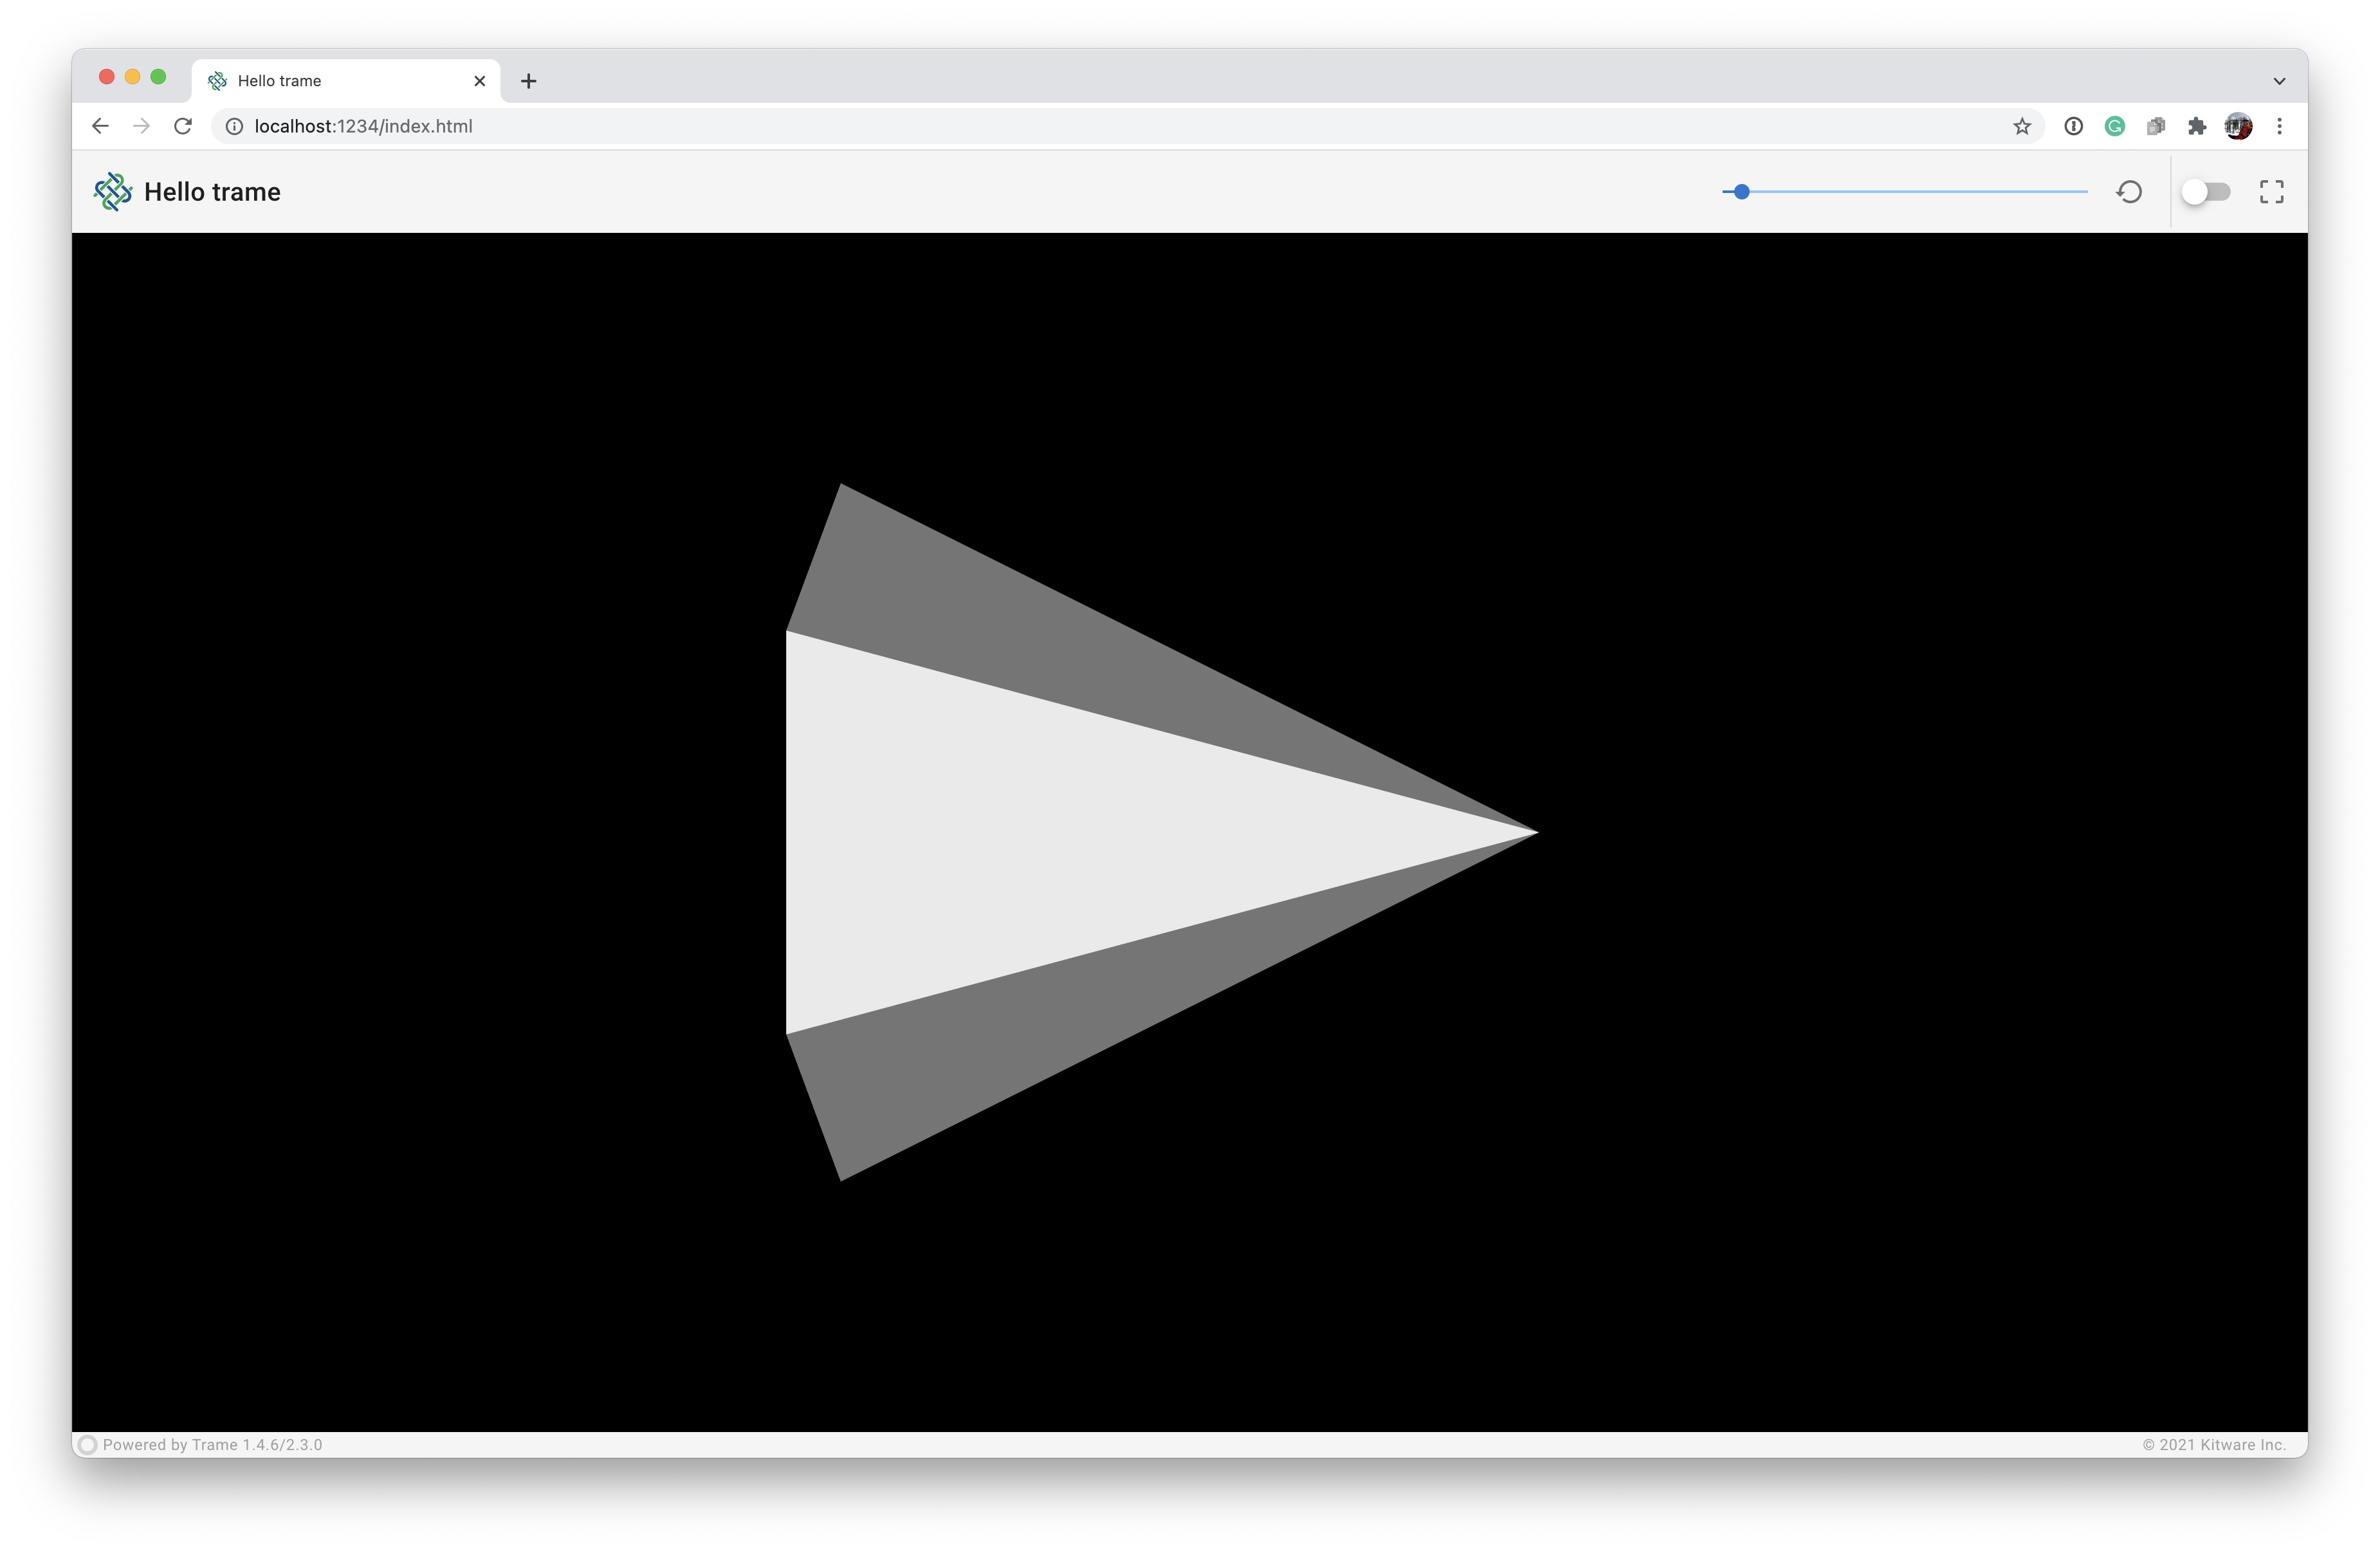
Let's modify the Hello trame application to add some GUI elements by starting editing the file 03_html/app_cone.py.
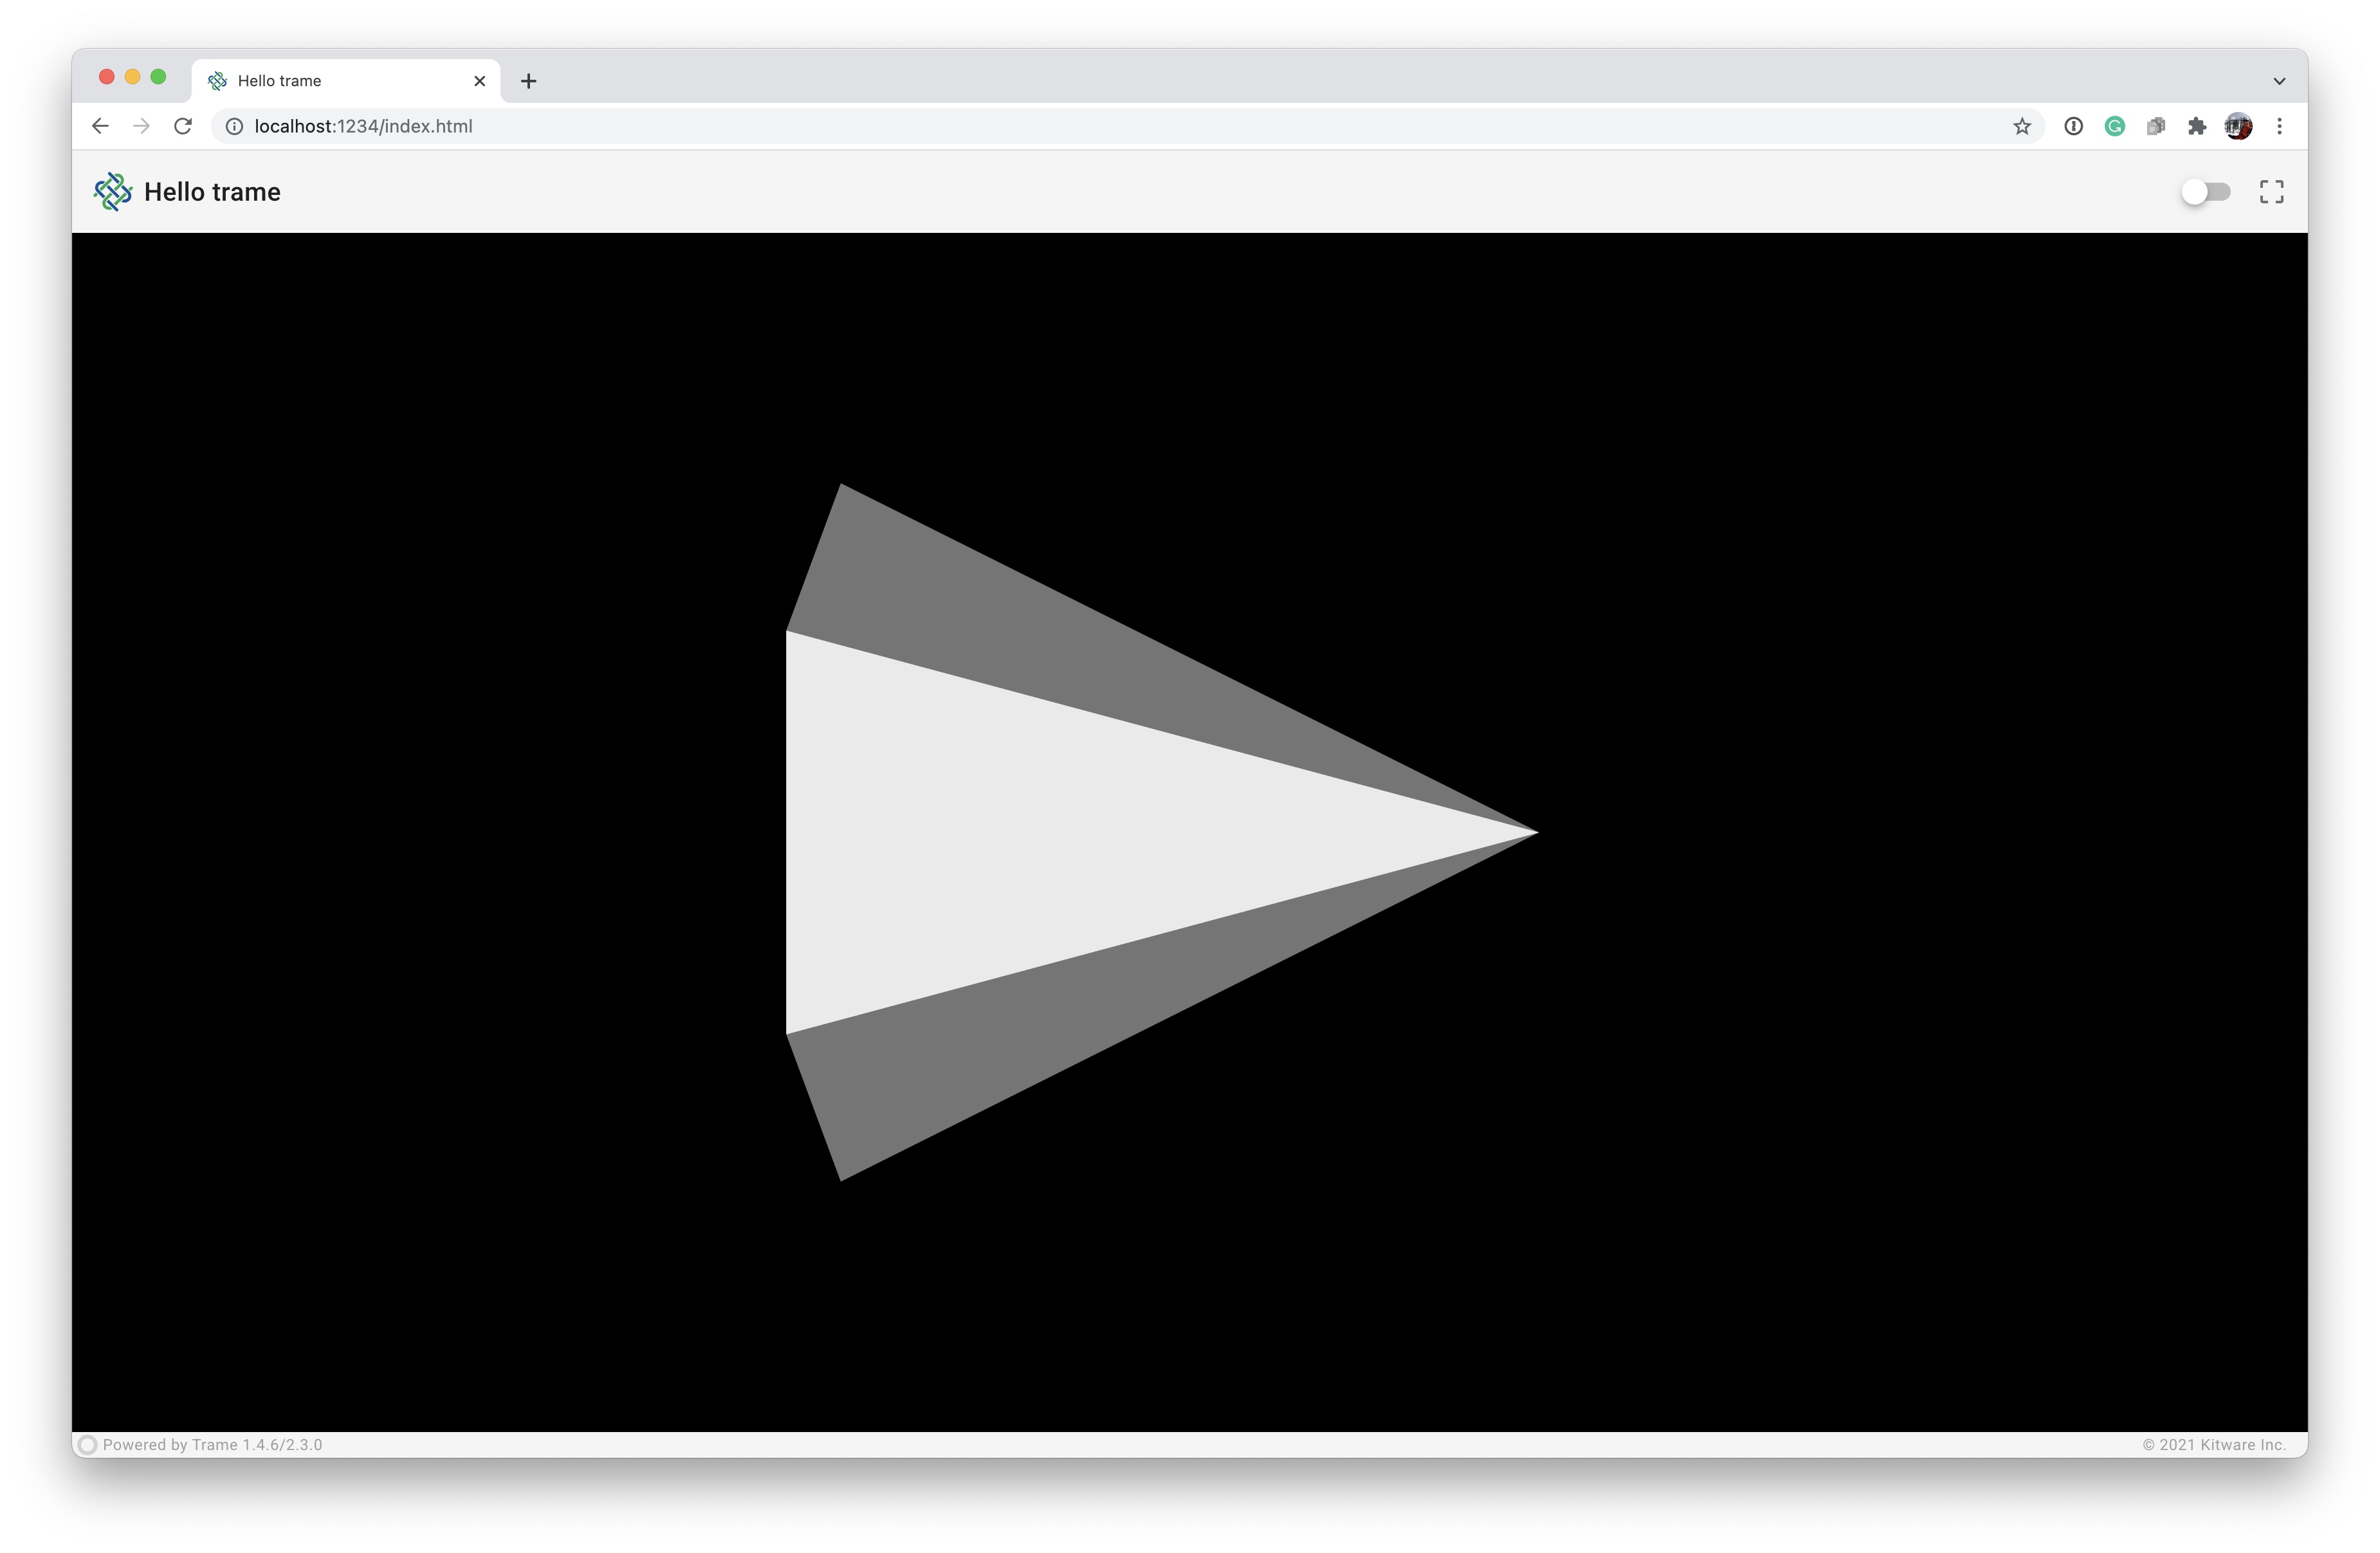 | 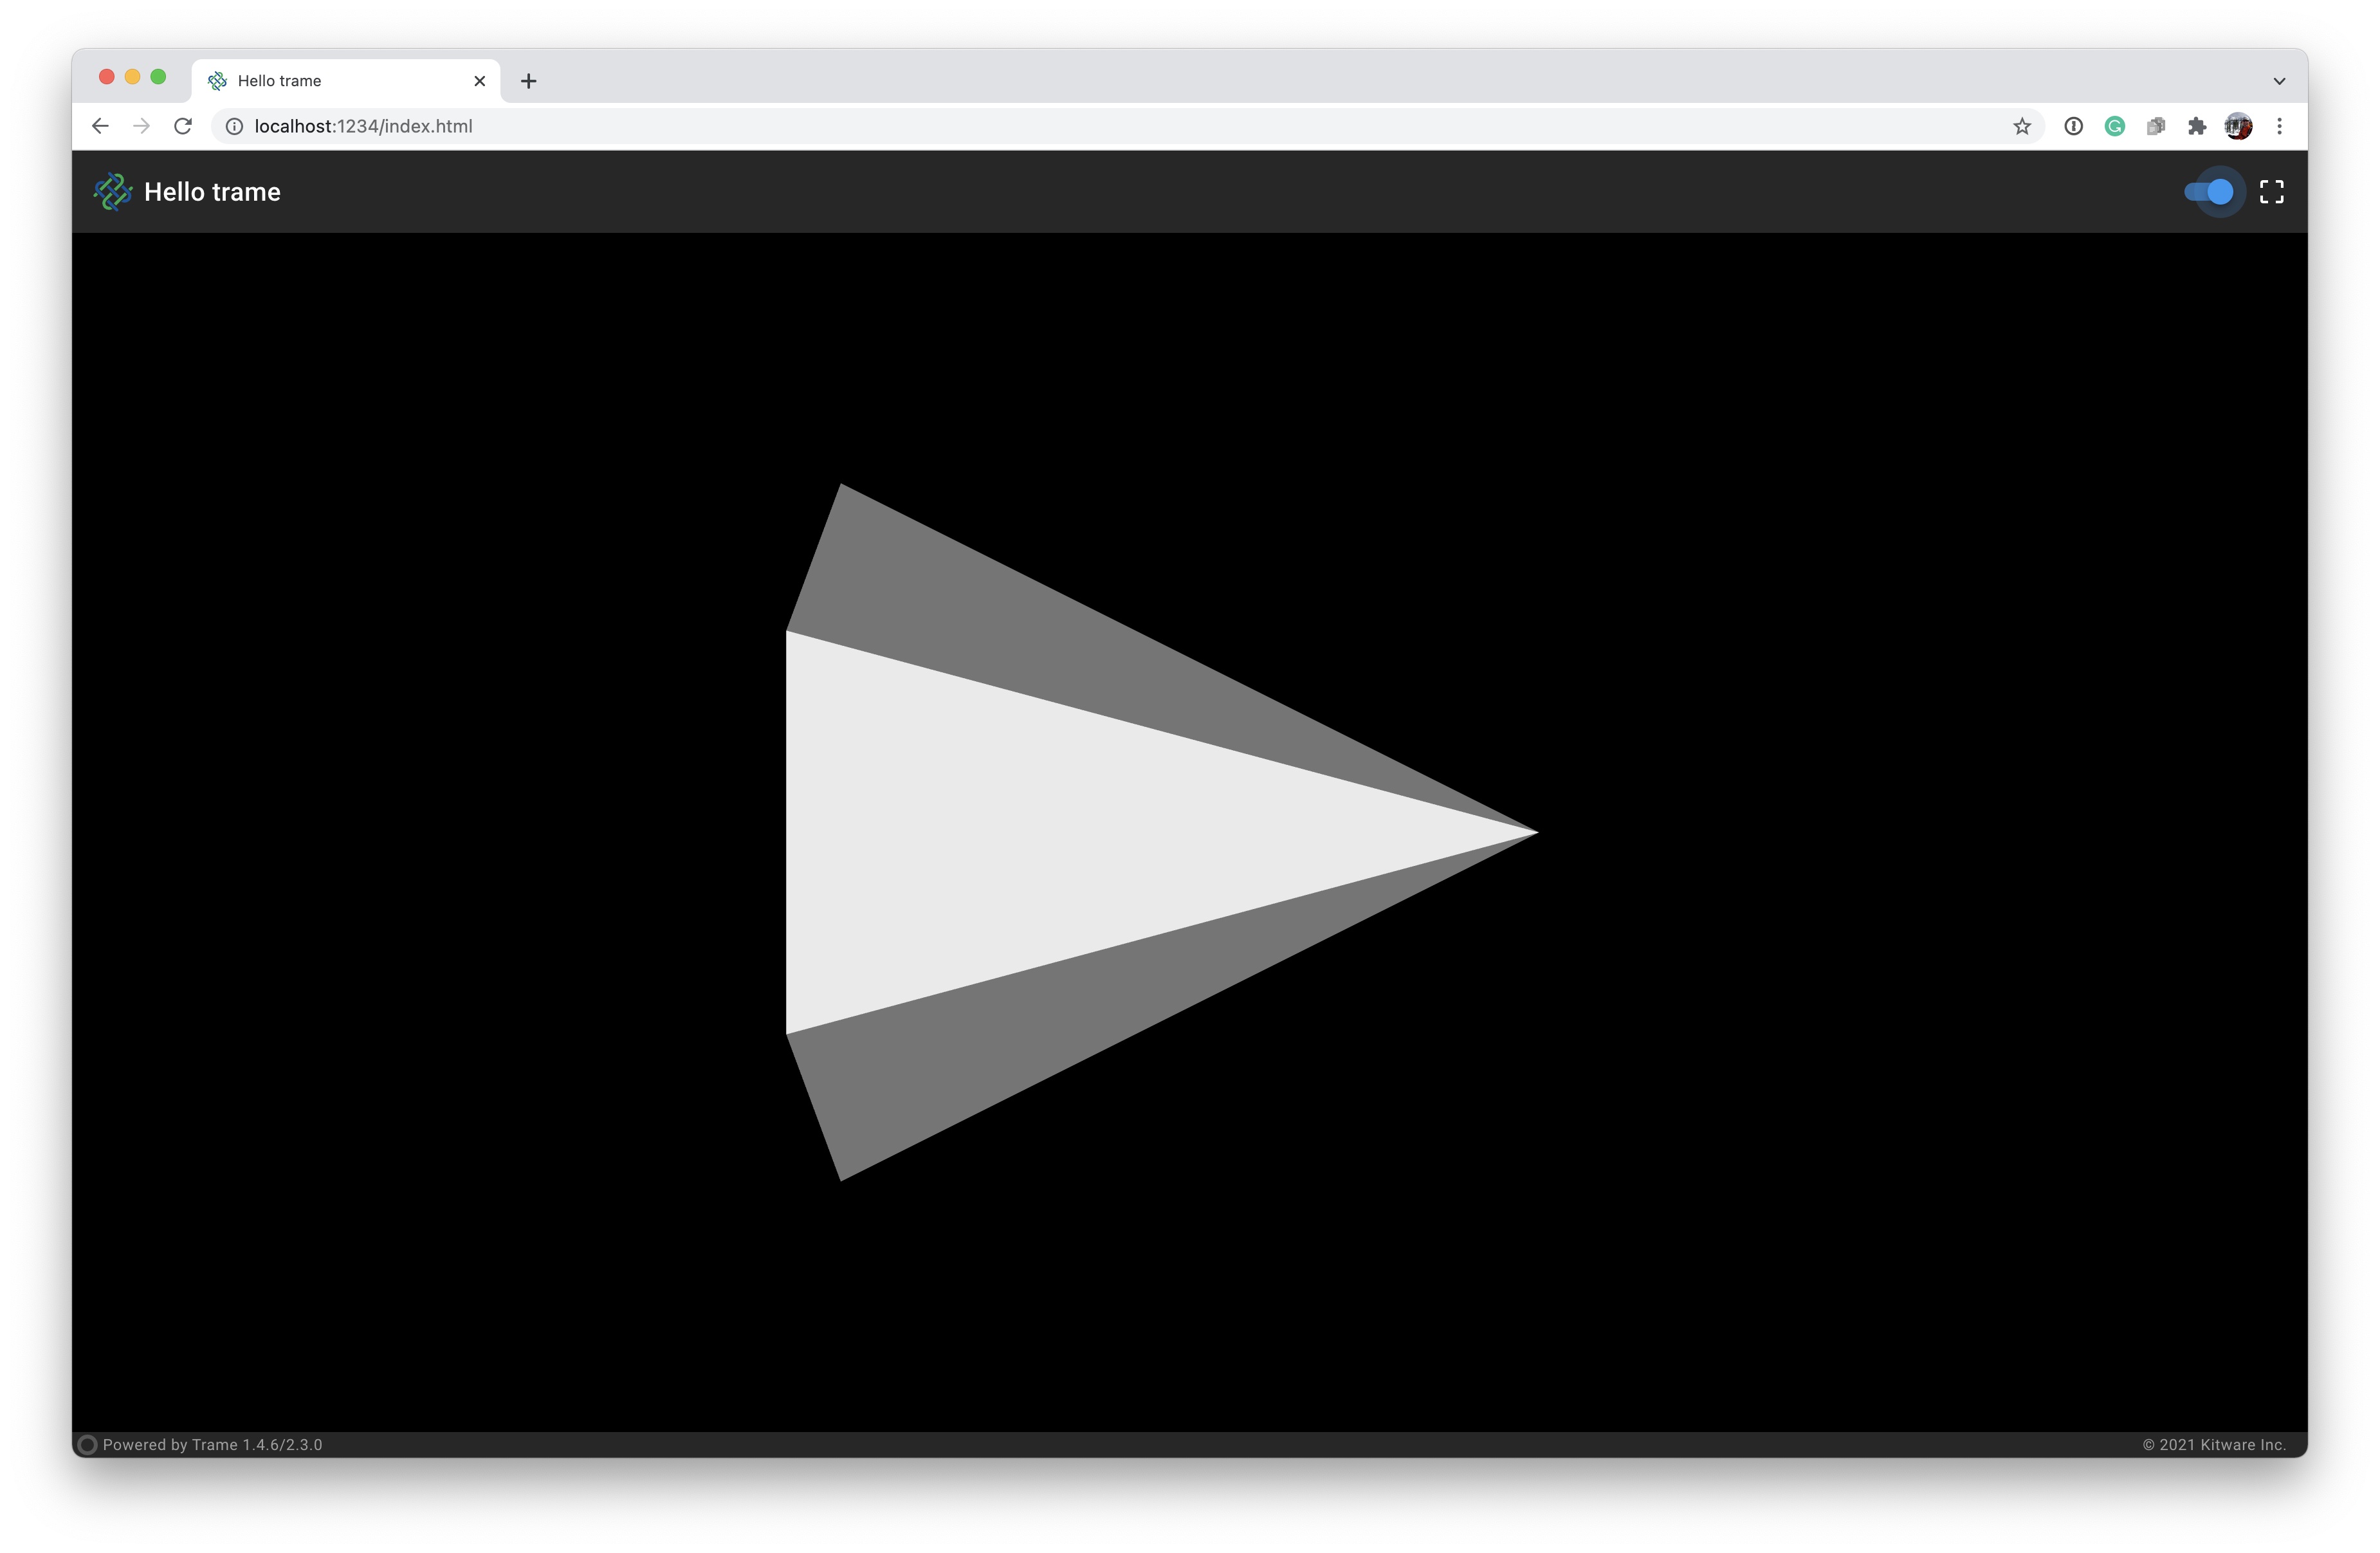 |
|---|---|
| Light mode | Dark Mode |
So with the SinglePageLayout, we could add UI elements to either the toolbar, content, or the footer. We'll limit ourself to the toolbar, but the procedure is still the same. Let us add to the right side of the toolbar a switch to toggle between light and dark mode of the application and a button to reset the view after panning and/or zooming.
The VSpacer Vuetify component pushes the extra space on the left side of the component.
The VSwitch component toggles between two different states. In this case, we will update the state variable
themewhich will be used as a parameter for the layout. The hide_details and dense attribute creates a smaller, tighter switch.The VBtn component is a button. We decorate the button with a VIcon component where the argument is a String identifying the Material Design Icons instead of text in this case. The VBtn icon attribute provides proper sizing and padding for the icon. Finally, the click attribute tells the application what method to call when the button is pressed.
We add all the Vuetify components in a flow from left to right, top to bottom to the layout.toolbar container.
class AppButtons(TrameApp):
    # [...]

    def _build_ui(self):
        # Use state variable `theme` for the theme with default value 'light'
        with SinglePageLayout(self.server, theme=("theme", "light")) as self.ui:
            with self.ui.content:
                with v3.VContainer(
                    fluid=True,
                    classes="pa-0 fill-height",
                ):
                    self.view = vtk.VtkLocalView(self.renderWindow)
                    self.server.ctrl.on_server_ready.add(self.view.update)
                    self.server.ctrl.view_update = self.view.update # <-- Capture update method (will be useful later)
                    ctrl.view_reset_camera = self.view.reset_camera # <-- Capture reset_camera method

            with self.ui.toolbar:
                v3.VSpacer()
                v3.VSwitch(
                    v_model="theme",
                    false_value="light", # <-- Value of v_model's variable if switch toggled off
                    true_value="dark", # <-- Value of v_model's variable if switch toggled on
                    hide_details=True,
                    density="compact",
                )
                v3.VBtn(
                    icon="mdi-crop-free",
                    click=self.ctrl.view_reset_camera, # <-- Use that reset_camera (init order does not matter)
                )
Running the Application
python 03_html/app_cone.py --port 1234
# or
python 03_html/solution_buttons.py --port 1234
Your browser should open automatically to http://localhost:1234/
with Construct
The Python with construct allow us to automatically append to a given widget container but also for the Layouts it will automatically flush its content to the server. While it is possible to mutate the children attribute of a widget we encourage you to use the with syntax instead.
Callbacks
We really want to enable our GUI to interact with our visualization (or application, in general). For example, we want to adjust the resolution (number of line segments) that approximates circle used in defining the cone.
By default, the resolution is 6, defined in the Globals section.
DEFAULT_RESOLUTION = 6
Let's add a VSlider for adjusting the resolution, a VBtn with VIcon to reset the resolution to the default value, and a vertical VDivider to separate our visualization GUI from the application GUI. The following is added after the VSpacer component at the beginning of the with toolbar flow.
class AppButtons(TrameApp):
    # [...]

    def _build_ui(self):
        with SinglePageLayout(self.server, theme=("theme", "light")) as self.ui:
            # [...]
            with self.ui.toolbar:
                v3.VSpacer()
                v3.VSlider(
                    v_model=("resolution", DEFAULT_RESOLUTION), # (var_name, initial_value)
                    min=3, max=60, step=1,                      # min/max/step
                    hide_details=True, density="compact",       # presentation params
                    style="max-width: 300px",                   # css style
                )
                v3.VBtn(icon="mdi-restore", click=self.reset_resolution)
                v3.VDivider(vertical=True, classes="mx-2")
                # [...] Dark theme switch
The VSlider creates resolution as a state variable and is initialized to the default resolution. When interacting with the slider, the code will call a function decorated with @state.change("resolution").
class AppButtons(TrameApp):
    # [...]
    @change("resolution")
    def update_resolution(self, resolution, **_):
        self.cone_source.SetResolution(resolution)
        self.ctrl.view_update()
There is no need to get or update the resolution state variable. This update is carried out on the client-side by the v_model. We simply update the cone_source appropriately and update the view.
The VBtn resets the the resolution when pressed by calling the reset_resolution function. This is a trigger event, where v_models are change events. Since we use a function reference, there is no need to use a @trigger("...") decorator here. It is created by default behind the scenes.
class AppButtons(TrameApp):
    # [...]
    def reset_resolution(self):
self.state.resolution = DEFAULT_RESOLUTIONNote:
- If you plan to pass arguments to the
triggerfunction, then you would use the decorator. - In this case because we listen to
resolutionchange, the call tostate.resolution = ...will also trigger the change callback. That is the reason why we do not need to update the view or the cone source resolution inreset_resolution().
Both of these functions should be included in the Functions or Callbacks section of the code.
Running the Application
python 03_html/app_cone.py --port 1234
# or
python 03_html/solution_final.py --port 1234