

VTK
In this step we start adding VTK visualizations to our application.
VTK Imports
Start editing the file in 01_vtk/app_cone.py which has the same content as 00_setup/app.py.
First, what we need to add is an import for vtk and vuetify3 from trame.widgets.
from trame.widgets import vtk, vuetify3 as v3This provides us access to trame's widgets for vtk and vuetify.
Next, we will need to import the required objects from VTK. We will visualize a simple cone in this example so we will need vtkConeSource.
from vtkmodules.vtkFiltersSources import vtkConeSourceOther VTK objects will need to be imported based on the desired visualization pipelines.
Next, we need to import the VTK rendering core
from vtkmodules.vtkRenderingCore import (
    vtkActor,
    vtkPolyDataMapper,
    vtkRenderer,
    vtkRenderWindow,
    vtkRenderWindowInteractor,
)Finally, we need to import the required modules for the interactor and rendering.
vtkInteractorStyleSwitch is required for the interactor initialization.
from vtkmodules.vtkInteractionStyle import vtkInteractorStyleSwitch #noqaThe vtkRenderingOpenGL2 module is required for the rendering initialization. It is not necessary for local rendering, but you'll want to include it so that you can seamlessly switch between local and remote rendering.
import vtkmodules.vtkRenderingOpenGL2 #noqaNote: #noqa tells the linter to ignore checking this problematic line.
VTK Pipeline
As promised, to add visualization to your trame application you simply write VTK pipelines in Python.
There are a number of ways to learn VTK:
This tutorial does not provide an adequate background for VTK, but in the following we will explain the pieces and parts of the provided VTK examples at a high level.
First, we create a vtkRenderer and vtkRenderWindow. The we tie them together by adding the renderer to the renderWindow.
renderer = vtkRenderer()
renderWindow = vtkRenderWindow()
renderWindow.AddRenderer(renderer)Second, we define a vtkRenderWindowInteractor which provides a platform-independent interaction mechanism for mouse/key/time events.
renderWindowInteractor = vtkRenderWindowInteractor()
renderWindowInteractor.SetRenderWindow(renderWindow)
renderWindowInteractor.GetInteractorStyle().SetCurrentStyleToTrackballCamera()
We create the interactor, associate it with the renderWindow and set the interaction style.
Third, we create the desired visualization. This process requires the creation of an object, a mapper, and an actor (these constitute a simple VTK pipeline).
cone_source = vtkConeSource()
mapper = vtkPolyDataMapper()
mapper.SetInputConnection(cone_source.GetOutputPort())
actor = vtkActor()
actor.SetMapper(mapper)
The instantiated vtkConeSource is our mesh source that will produce a vtkPolyData. Then we want to map it to a graphical representation by creating a vtkPolyDataMapper. We must create a connection from the cone to the mapper by setting the input connection. We then create an actor and connect the mapper to the actor. (In VTK, actors are objects displayed by a renderer.)
Finally, we add all the pipelines (actors) to the renderer, reset the camera, and render.
renderer.AddActor(actor)
renderer.ResetCamera()
The VTK specific imports and pipelines defined for a trame application are precisely the specific imports and pipelines required for a Python VTK script.
Local and Remote Rendering
Why do we care about local and remote rendering? Well each method of rendering has it's advantages and disadvantages. To a large extent it is a matter of data scale as described in the following.
Local Rendering
Advantages
- The server doesn't need a graphics processing unit (GPU). Systems with GPUs are expensive to purchase and expensive to rent (cloud). These costs are pushed to the end-points on end-users.
- The performance as measured in frames per second (fps) rendering is higher when using local rendering. Recent advancements in the browser's access to local GPU resources means that rendering performance through the web browser is nearly as good as available to a desktop application.
Disadvantages
- The data to be rendered must be transferred from the server to the client. This transfer may be too slow, and the data may be too large for the browser to manage.
- How and where will the data be processed into graphic primitives? The processing may increase load and latency on the server side or the client side.
Remote Rendering
Advantages
- The data to be rendered doesn't move, only the resulting rendered image is transmitted.
- Rendering can utilize parallel and distributed processing to handle extremely large data.
- The server can serve a more diverse set of clients. From cell phone to workstation, the client requirements is limited to receiving and rendering images.
Disadvantages
- Rendering fps might be capped by the speed and latency of image delivery.
- The servers have to be more capable. Remote software rendering is possible, but the framerates will be further impacted.
Implementation
Down in the GUI section of the application, we first need to select a rendering method.
For local rendering
html_view = vtk.VtkLocalView(renderWindow)for remote rendering
html_view = vtk.VtkRemoteView(renderWindow)and define a container to hold the renderer:
class AppCone(TrameApp):
    # [...]

    def _build_ui(self):

        with SinglePageLayout(self.server) as self.ui:
            # [...]

            with self.ui.content:
                with v3.VContainer(
                    fluid=True,
                    classes="pa-0 fill-height",
                ):
                    # html_view = vtk.VtkLocalView(renderWindow)
                    html_view = vtk.VtkRemoteView(renderWindow)
We add a Vuetify component to the Web application. In this case, a VContainer. The arguments include: fluid (to get full width container), classes (CSS stylings), and nest our rendering view component into it.
(More information is available for vuetify.)
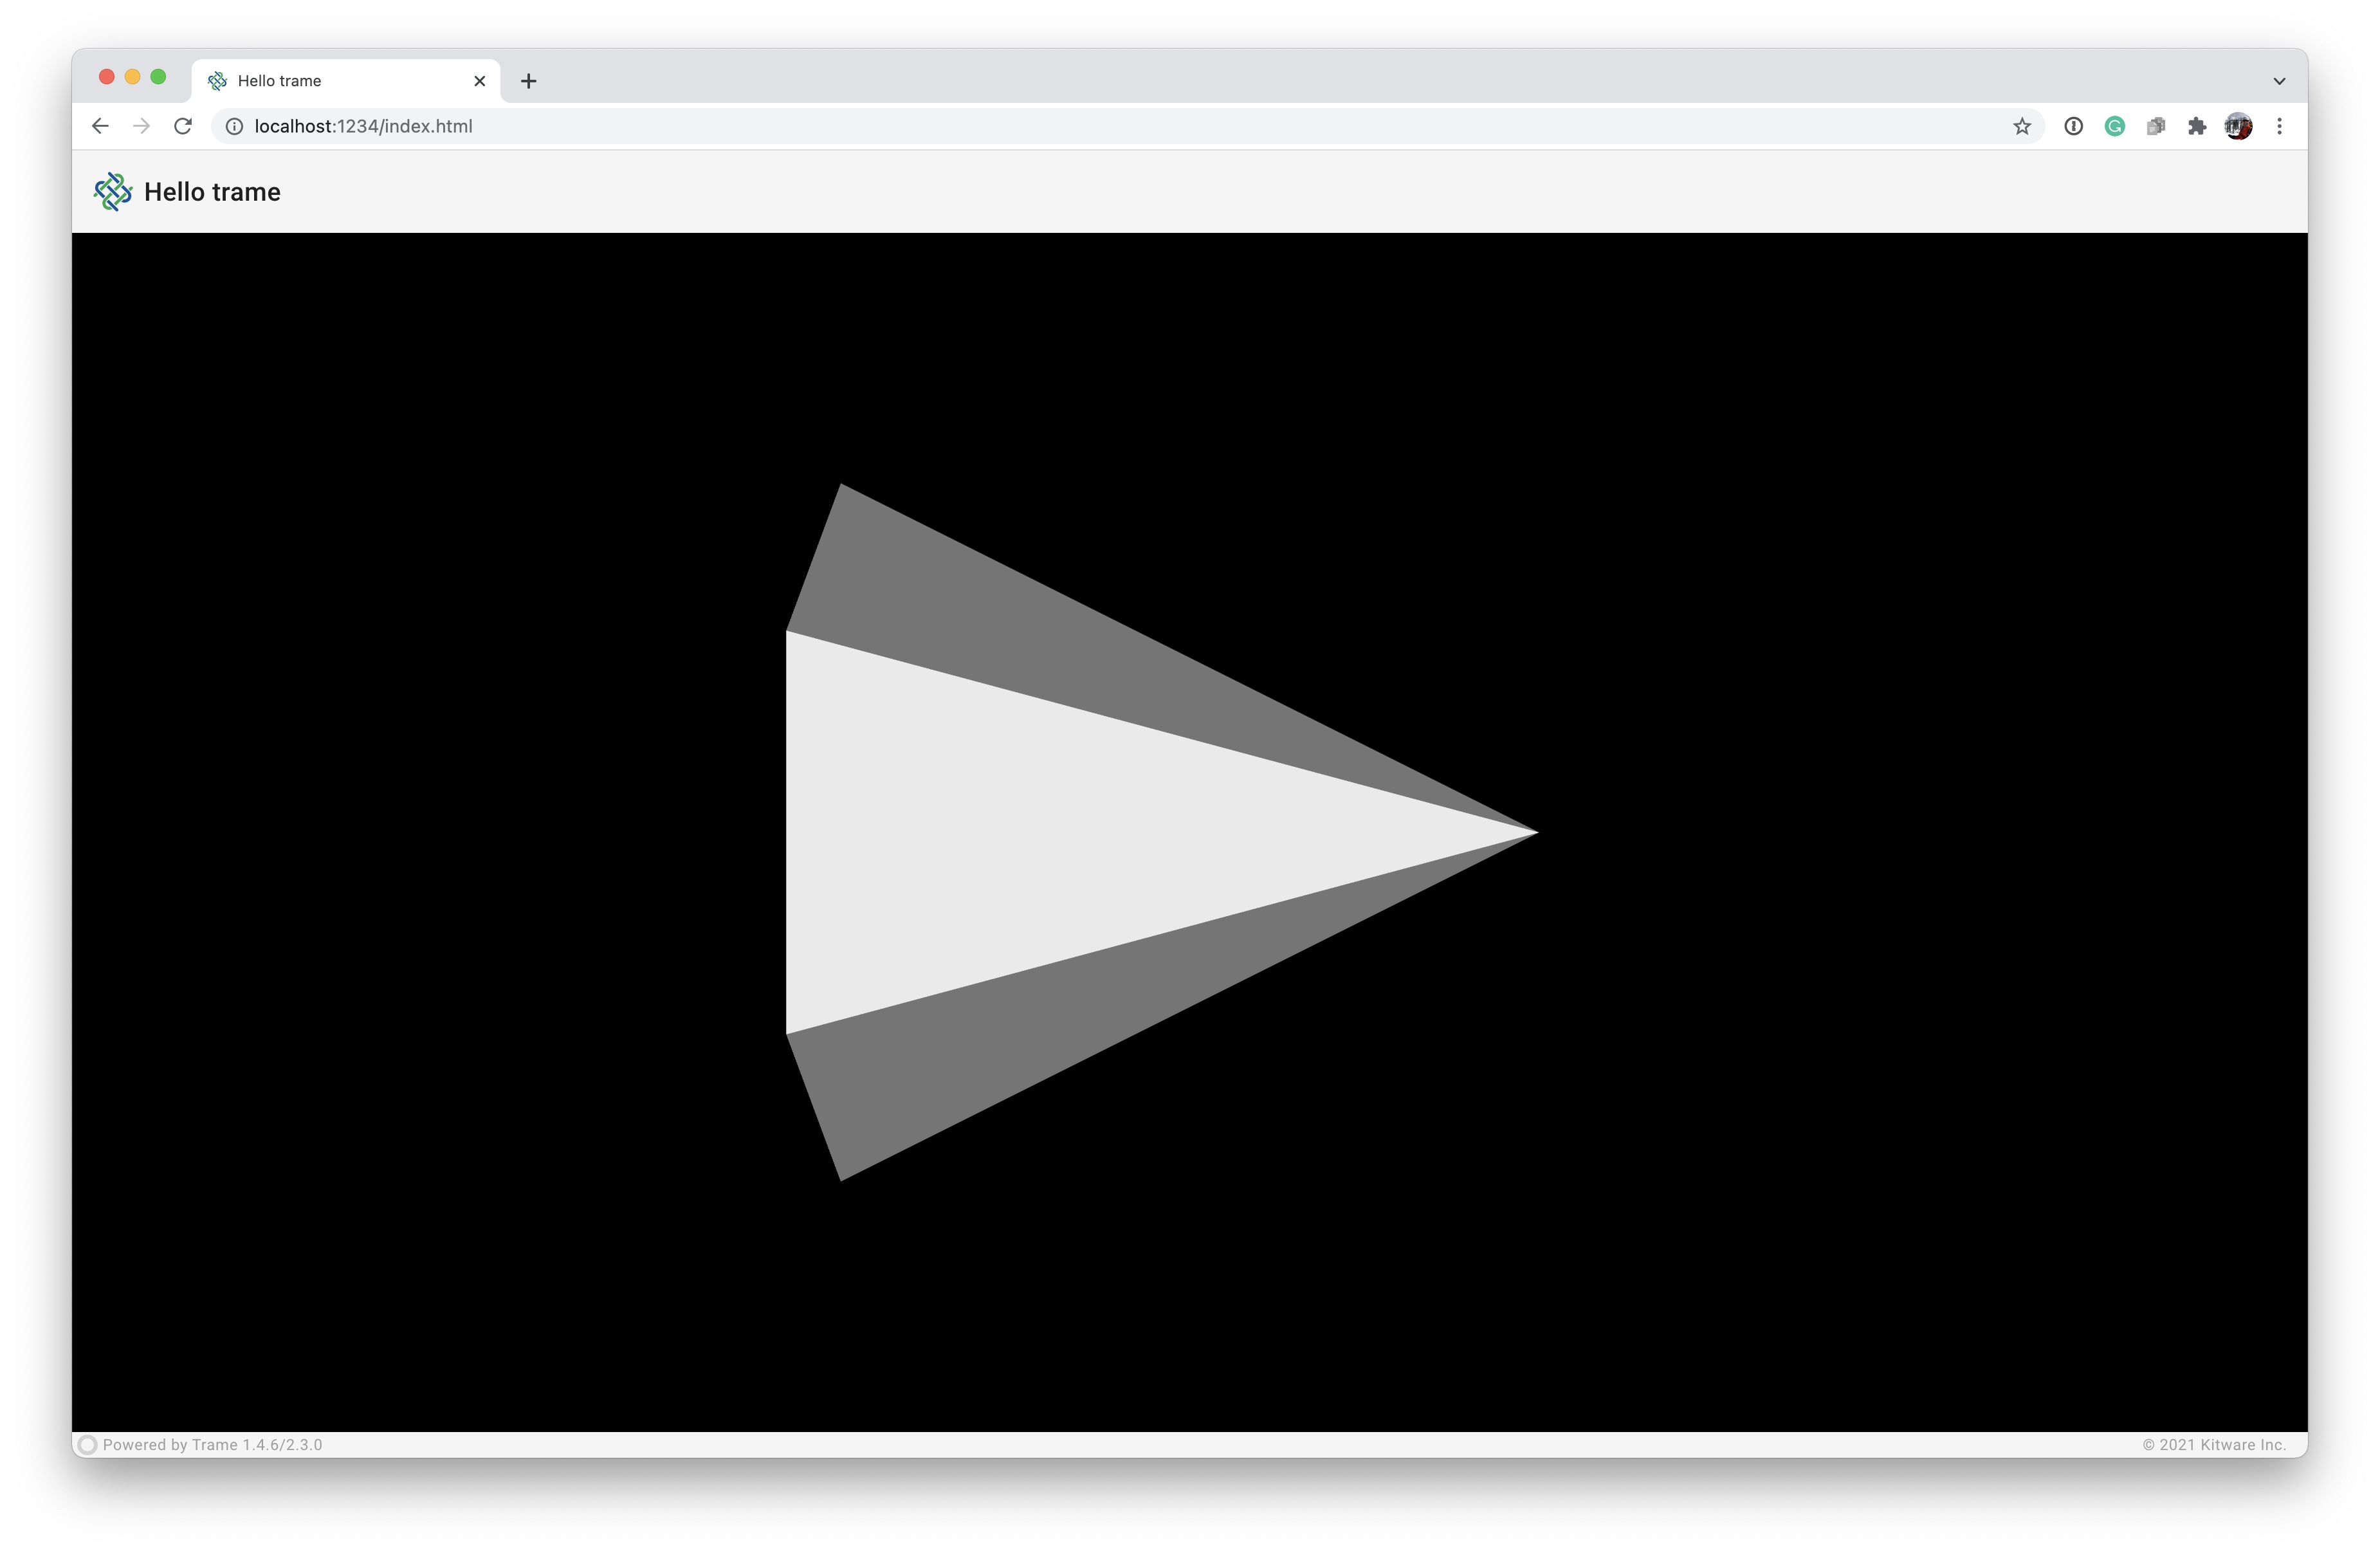
Running the Application
python ./01_vtk/app_cone.py --port 1234
# or
python ./01_vtk/solution_cone.py --port 1234
Your browser should open automatically to http://localhost:1234/
Interaction
- Rotate: Hold down the mouse and move
- Zoom: Hold down mouse + control key and move up (out) and down (in)
- Pan: Hold down the mouse + option key and move
Other VTK Examples
Now you can take most of the code examples at VTK Examples and port them to trame.
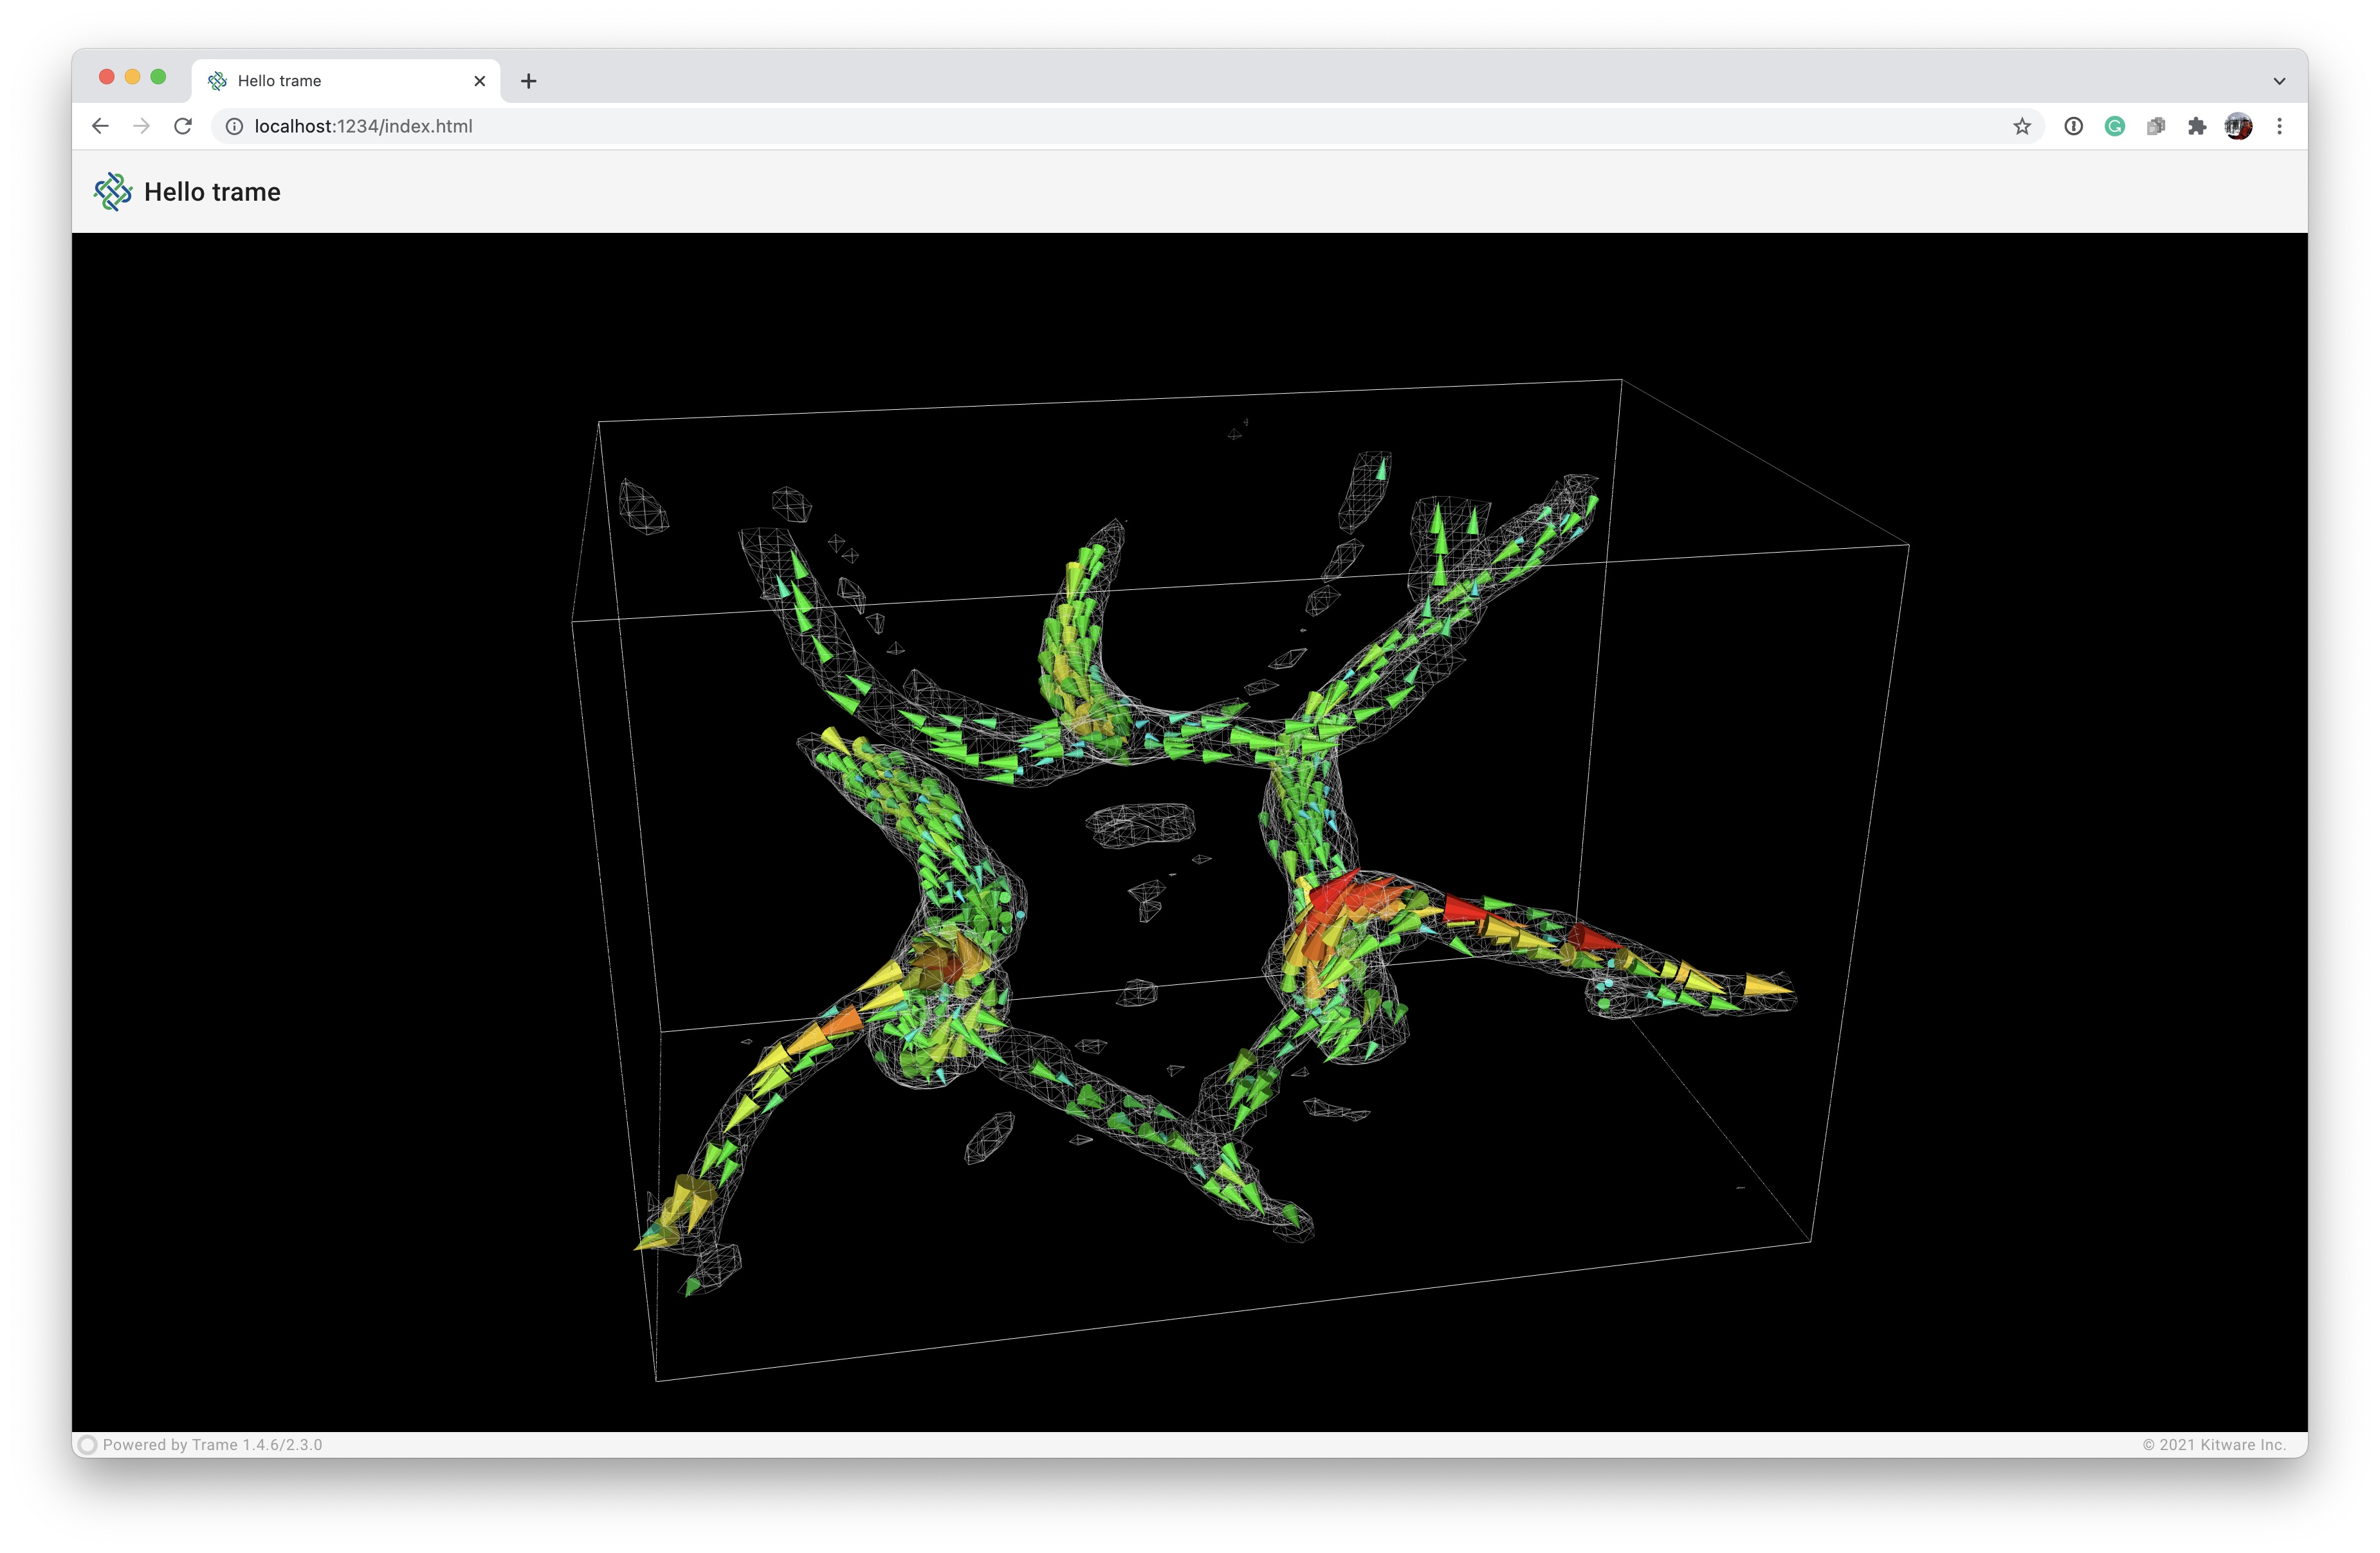
We are going to implement CarotidFlowGlyphs by editing the file in 01_vtk/app_flow.py which start from our cone rendering example solution.
Imports
We are going to read a file, requiring the import of the os module and set the current directory. Starting with our Hello trame cone application, we add
import os

CURRENT_DIRECTORY = os.path.abspath(os.path.dirname(__file__))
We replaced the imports for our cone VTK pipeline
from vtkmodules.vtkFiltersSources import vtkConeSourcewith imports for multiple VTK pipelines
from vtkmodules.vtkCommonColor import vtkNamedColors
from vtkmodules.vtkCommonCore import vtkLookupTable
from vtkmodules.vtkFiltersCore import (
    vtkContourFilter,
    vtkGlyph3D,
    vtkMaskPoints,
    vtkThresholdPoints
)
from vtkmodules.vtkFiltersModeling import vtkOutlineFilter
from vtkmodules.vtkFiltersSources import vtkConeSource
from vtkmodules.vtkIOLegacy import vtkStructuredPointsReader
to create three-dimensional (3D) contours of the carotid artery, 3D Glyphs of the flow field at various points, and an outline of the computational domain.
Pipelines
First, we replaced the cone pipeline line 36-40
cone_source = vtkConeSource()
mapper = vtkPolyDataMapper()
mapper.SetInputConnection(cone_source.GetOutputPort())
actor = vtkActor()
actor.SetMapper(mapper)
With our three pipelines for the glyphs, contours, and outline.
We read the data using the vtkStructuredPointsReader and the full file path, provided by adding CURRENT_DIRECTORY to the beginning of the relative file path.
# Read the Data

reader = vtkStructuredPointsReader()
reader.SetFileName(os.path.join(CURRENT_DIRECTORY, "../data/carotid.vtk"))# Glyphs
threshold = vtkThresholdPoints()
threshold.SetInputConnection(reader.GetOutputPort())
threshold.ThresholdByUpper(200)
mask = vtkMaskPoints()
mask.SetInputConnection(threshold.GetOutputPort())
mask.SetOnRatio(5)
cone = vtkConeSource()
cone.SetResolution(11)
cone.SetHeight(1)
cone.SetRadius(0.25)
cones = vtkGlyph3D()
cones.SetInputConnection(mask.GetOutputPort())
cones.SetSourceConnection(cone.GetOutputPort())
cones.SetScaleFactor(0.4)
cones.SetScaleModeToScaleByVector()
lut = vtkLookupTable()
lut.SetHueRange(.667, 0.0)
lut.Build()
scalarRange = [0] * 2
cones.Update()
scalarRange[0] = cones.GetOutput().GetPointData().GetScalars().GetRange()[0]
scalarRange[1] = cones.GetOutput().GetPointData().GetScalars().GetRange()[1]
vectorMapper = vtkPolyDataMapper()
vectorMapper.SetInputConnection(cones.GetOutputPort())
vectorMapper.SetScalarRange(scalarRange[0], scalarRange[1])
vectorMapper.SetLookupTable(lut)
vectorActor = vtkActor()
vectorActor.SetMapper(vectorMapper)
# Contours
iso = vtkContourFilter()
iso.SetInputConnection(reader.GetOutputPort())
iso.SetValue(0, 175)
isoMapper = vtkPolyDataMapper()
isoMapper.SetInputConnection(iso.GetOutputPort())
isoMapper.ScalarVisibilityOff()
isoActor = vtkActor()
isoActor.SetMapper(isoMapper)
isoActor.GetProperty().SetRepresentationToWireframe()
isoActor.GetProperty().SetOpacity(0.25)
# Outline
colors = vtkNamedColors()
outline = vtkOutlineFilter()
outline.SetInputConnection(reader.GetOutputPort())
outlineMapper = vtkPolyDataMapper()
outlineMapper.SetInputConnection(outline.GetOutputPort())
outlineActor = vtkActor()
outlineActor.SetMapper(outlineMapper)
outlineActor.GetProperty().SetColor(colors.GetColor3d("White"))Note: In the Colors and Data section we instantiated a helper for accessing named colors and read the desired data file on the server.
Finally, we replace the single cone pipeline actor
renderer.AddActor(actor)with three pipeline actors associated with the renderer.
renderer.AddActor(outlineActor)
renderer.AddActor(vectorActor)
renderer.AddActor(isoActor)
Our pipelines are the same pipelines used in VTK Examples except for some cosmetic edits (e.g., using renderer and renderWindow is clearer than ren1 and renWin).
Running the Application
python ./01_vtk/app_flow.py --port 1234
# or
python ./01_vtk/solution_flow.py --port 1234
Your browser should open automatically to http://localhost:1234/
Ray Casting example
Left as an exercise to the reader, implement the Volume Rendering example Simple Ray Cast using trame.
The solution of that example is available at 01_vtk/solution_ray_cast.py.